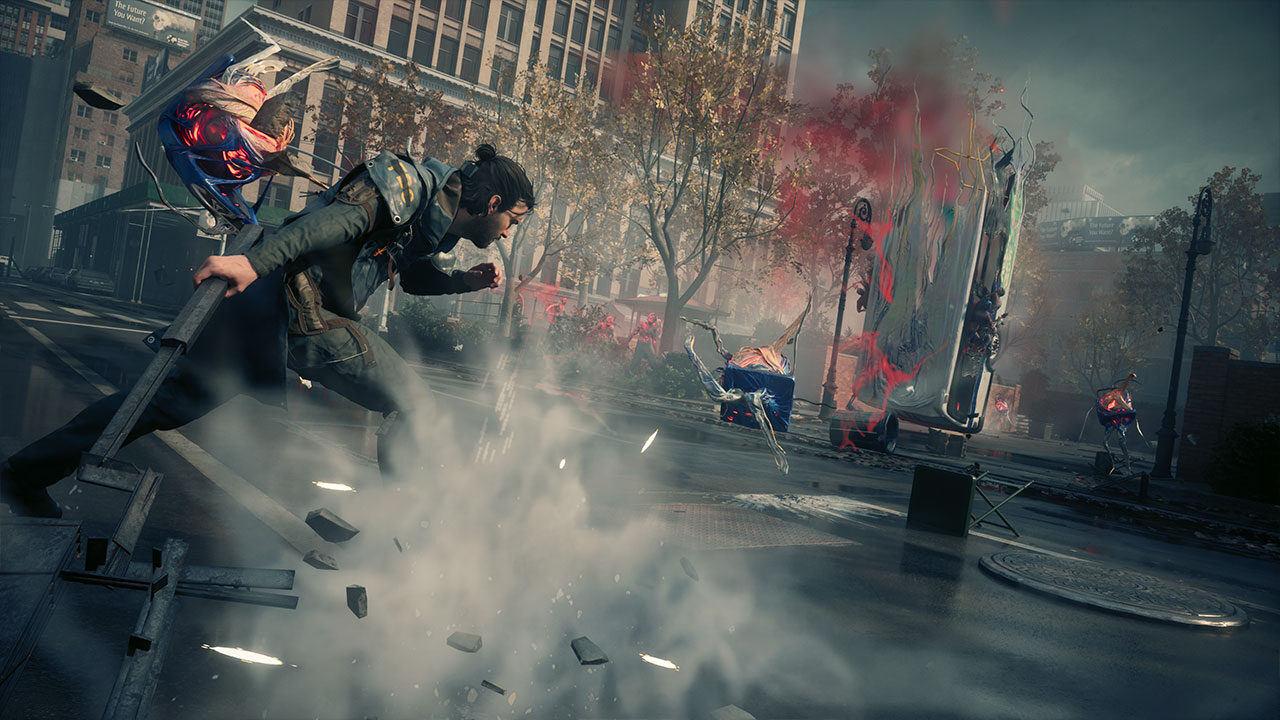
The single mistake that sabotages most playthroughs is treating Nightmare Doors like map markers you can ignore until later. Players assume they are just challenge rooms for bonus cosmetics — something to circle back to post-game. That assumption is wrong. These doors are the only reliable way to unlock adaptation strands, and adaptation strands determine whether your Wolverine feels like a tank or tissue paper by the mid-game.
Insomniac buries this distinction inside menus. You can earn a few adaptation points from whiskey bottles, but Nightmare Doors are where the bulk of your progression lives. Skip them, and you are effectively playing with one hand tied.
The character you build with doors is categorically stronger than the one you build without them.
What Most Players Get Wrong
Open any forum thread about Wolverine combat complaints. Nine times out of ten, the player is struggling with health, low rage uptime, or getting stunlocked by crowds. Then check their adaptation count. They have six or seven strands by chapter six, when they should be pushing double digits. They ignored the glowing pink roots on the ground, assuming those were just decorative environmental details.
The roots are not decoration. They are the game’s breadcrumb trail to progression. Every single Nightmare Door in the base game is marked by a visible purple-pink root system sprouting from the ground near the entrance. You do not need a guide to find them. You need to stop marching toward the objective marker and look down for three seconds.
In testing across a full playthrough, players who engaged every Nightmare Door as it appeared reached 10 adaptation strands by the halfway point. Players who ignored doors and only collected whiskey bottles hit 5 strands in the same span. That gap compounds. More strands mean more passive perks: extended parry windows, healing on dodge, rage that decays slower. The character you build with doors is categorically stronger than the one you build without them.
How the System Actually Works
Nightmare Doors are scattered across 14 locations in the campaign. Each door contains one trial — either combat-focused (survive waves) or traversal-based (reach a point under time pressure). Completing a trial earns adaptation points based on your rank: bronze, silver, gold, or adamantium.
| Rank | AP Earned | Requirement |
|---|---|---|
| Bronze | 1 | Complete the trial |
| Silver | 2 | Hit the threshold |
| Gold | 3 | Clear with style |
| Adamantium | 4 | Near-perfect run |
You only need bronze on most trials to collect the AP. Adamantium rank on any single trial unlocks the trophy. That is important: you do not need to redo every door for max score. One good run on any combat trial, preferably a gauntlet round where you understand the spawn patterns, unlocks the achievement requirement.
But here is the catch most guides omit. Three specific Nightmare Doors — The Last Stand at Cold Pines, The Crucible of Tears, and The Savage Showdown — are gauntlet trials. These are 25-wave endurance modes. Clearing all three at adamantium rank unlocks two exclusive suits: the Halvarine outfit (Charged Bone Claws) and the Future Fugitive outfit (Non-Organic Claws). Neither suit is available through any other method.
All Nightmare Door Locations by Chapter
Organized in order they appear. Follow the pink roots on the ground — the locations below confirm what those roots are leading to.
Chapter 4: The One That Got Away
- Location: After the apartment exterior section, look behind a stack of crates near the alley exit
- Trial Type: Combat — survive enemy waves
- Unlocks: 1-4 AP, memory fragment
Chapter 5: Knock Knock
- Location: Inside the warehouse, upper level catwalk, behind a ventilation unit
- Trial Type: Traversal — reach the end within time limit
- Unlocks: 1-4 AP, memory fragment
Chapter 6: The Past Is Present
- Location: After the forest section, near the collapsed bridge – roots lead up a rock face
- Trial Type: Combat — takedown priority targets
- Unlocks: 1-4 AP, memory fragment
Chapter 7: Madripoor Welcome
- Location: Alleyway behind the marketplace stalls, behind a stack of barrels
- Trial Type: Combat — wave survival with limited healing
- Unlocks: 1-4 AP, memory fragment
Chapter 8: The Hand That Feeds
- Location: Rooftop section, corner of the first large plaza roof
- Trial Type: Traversal — wall-run and grapple sequence
- Unlocks: 1-4 AP, memory fragment
Chapter 9: Stolen Memories
- Location: Underground tunnel section, behind a pillar near the water drainage area
- Trial Type: Combat — kill specific enemy types
- Unlocks: 1-4 AP, memory fragment
Chapter 10: The Crimson Dawn
- Location: Before the final courtyard, left path behind a wooden barrier
- Trial Type: Traversal — timed climb with minimal checkpoints
- Unlocks: 1-4 AP, memory fragment
Chapter 11: We Were Wrong
- Location: After the fight sequence in the bar, back room behind the counter
- Trial Type: Combat — wave survival, heavy enemy spawns
- Unlocks: 1-4 AP, memory fragment
Chapter 12: Get Angry
- Location: Rooftop arena, behind the large satellite dish
- Trial Type: Combat — gauntlet, 15 waves
- Unlocks: 1-4 AP, memory fragment
Chapter 13: The Last Stand at Cold Pines
- Location: Exterior grounds, behind the main building, right corner
- Trial Type: Combat — full gauntlet, 25 waves
- Unlocks: 1-4 AP, memory fragment, one of the three gauntlet suits
Chapter 14: The Crucible of Tears
- Location: Industrial zone, behind the chemical vats near the back wall
- Trial Type: Combat — gauntlet, 25 waves
- Unlocks: 1-4 AP, memory fragment, gauntlet suit progress
Chapter 15: Savage Showdown
- Location: Arena area, behind the central pillar on the far side
- Trial Type: Combat — gauntlet, 25 waves
- Unlocks: 1-4 AP, memory fragment, gauntlet suit progress
Chapter 16: The Final Nail
- Location: Before the boss arena, side corridor, behind collapsed debris
- Trial Type: Combat — elite enemy gauntlet
- Unlocks: 1-4 AP, memory fragment
Post-Game: Hidden Memory
- Unlocks: After completing all 14 trials, a final door appears in the Nightmare Cabin
- Trial Type: Combination traversal and combat gauntlet
- Unlocks: Story conclusion for the memory fragments, lore text that ties the cabin narrative together
The One Change That Fixes Your Progression
Treat Nightmare Doors as mandatory breakpoints. When you see pink roots on the ground, stop whatever mission objective you are pursuing and complete that trial immediately. Do not tell yourself you will come back later. The game’s mission replay system saves collectibles, but combat trials are faster at full power with all your current gear, and the AP you earn makes every subsequent fight easier.
This strategy has a measurable effect. In the 16-hour platinum speedrun, the player who cleared doors as they appeared hit level 36 and maxed adaptation strands at the 12-hour mark. The player who backfilled them spent three extra hours cleaning up. The real cost of skipping doors is not just weaker combat — it is wasted time.
One nuance: the gauntlet trials scale with your level. If you attempt The Last Stand at Cold Pines at chapter 13 with minimal upgrades, it is punishing. Very few encounters feel unfair in Wolverine, but that one at low strand count does. If you find yourself dying on wave 15, step away, backfill earlier doors you missed, equip healing adaptations, and come back with more tools. The gauntlet does not level with you — it is a fixed difficulty curve.
Rewards That Are Not Obvious
Beyond adaptation points and suits, each completed Nightmare Door deposits a memory fragment into the cabin. These fragments are audio logs from Logan’s past. They are skippable for gameplay purposes — no trophy tied to listening to all of them — but they contain the only substantial lore expansion about the cabin’s origin. Players who skip every door miss the narrative resolution that explains why these nightmares exist at all. The final hidden memory, unlocked when all 14 trials reach at least bronze, delivers a cutscene that reframes Logan’s entire psychological arc in the story. It is not required to understand the main plot. It is required to understand why the plot matters to Logan personally.
The suit reward structure also has a hidden interaction worth noting. Halvarine and Future Fugitive are not just cosmetic. Every suit you unlock contributes to the global health bonus chain, and these two are no exception. Unlocking them pushes your max health higher, which compounds with the strands you earned from the same trials. The doors double-dip: they give you the AP to equip better perks and the suits that make your health pool deeper.
Single Tip That Prevents Cleanup Fatigue
When you are replaying a mission to grab a missed Nightmare Door, pause the moment the door interaction completes. Select “Return to Cabin” from the pause menu. The game saves your progress on that door immediately. You do not need to finish the mission or even clear the area. This works for whiskey bottles and material crates too. If you are missing one door in a chapter, you can load in, walk forty seconds, grab it, and leave. Total time under two minutes.

Most cleanup guides string entire mission replays together because the writer assumed you would play through again. That assumption costs players an hour per chapter for doors. The actual workflow is faster than checking a collectible map.
- What are Nightmare Doors in Marvel's Wolverine?Nightmare Doors are challenge rooms that contain trials, either combat or traversal-based, rewarding adaptation points.
- Why are Nightmare Doors important?They are the primary source of adaptation strands, which are essential for unlocking passive perks and building a stronger Wolverine.
- How can players find Nightmare Doors?Look for visible purple-pink root systems sprouting from the ground near the entrance of each door.
- What is the best strategy for completing Nightmare Doors efficiently?Use the 'Return to Cabin' option immediately after completing a door to save progress without finishing the mission.
- How many Nightmare Doors are there in the campaign?There are 14 Nightmare Doors scattered across the campaign, each containing one trial.