New Manhattan is not a map you wander. It’s a puzzle of locked doors, level-gated zones, and reset timers disguised as a city. The default approach — follow the main quest, do side content when you bump into it — wastes hours on backtracking and leaves zone experience on the table. Here’s the route that minimizes both.
The Two Abilities That Break Manhattan Open
You have two traversal unlocks that aren’t just useful. They’re the difference between a 40-hour playthrough and a 25-hour one.
If you kill three resonants back-to-back without farming, you'll face level 12 enemies with a level 7 build.
Gravity Shift sits in the West Incursion Zone, atop the parking garage. Climb to the roof, drop through the central hole, and fight through the fault. The payoff: you can cling to patterned walls and ceilings. This turns dead-end alleyways into shortcuts and opens a third of the loot you’d otherwise miss. Do this before you touch any world feats in that zone.
Reach is in the Evacuation Zone, inside the Railyard Street station. It lets you grapple to those translucent spatial anomalies you’ve seen everywhere. Without it, half the vertical routes in Central and Downtown are inaccessible. Enemies here start at level three — manageable if you’ve done a few encounters in Central first.
Get both before you fight your second resonant boss. Every zone you clear before those unlocks will either require a double-back or a frustrating jump you can’t make.
Zone-Leveling Efficiency: The Art of Pre-Farming
The game doesn’t tell you that world feats — the white icons on your map — respawn after each resonant cycle. That’s when you kill a resonant boss and the entire world resets, bumping enemy levels and refreshing activities.
The trap: if you burn through four resonant cycles without clearing each zone’s world feats first, you run out of feats to level with. The Underpass zone, for example, has a limited pool. Once they’re gone, you’re stuck grinding generic enemy spawns that give paltry zone XP.
The fix: treat each zone like a harvest. Before you kill its resonant boss, clear every world feat, open every chest, and activate every radar dish. Then kill the boss. The zone resets with a higher level cap, more feats appear, and you can do it again. This loops four or five times per zone before you hit the zone XP cap of 15. The bonus rewards — marked resource crates on the map, expanded vendor stock, health element boosts — are directly tied to zone level, not to story progress.
Central zone is the only one you can’t fully pre-farm because its resonant (the Factory Resident) is story-gated until you have the fire ability. But you can clear its world feats in between story beats. The West Incursion Zone and Evacuation Zone are fully open after you grab their traversal faults.
Hidden Map Tricks: Radar Dishes and Crate Markers
The radar calibration quest in each zone is mandatory, but most players stop once the fog clears. The dishes have a second use: the central radar’s dishes physically rotate to point toward the nearest unactivated receiver. If you’re missing one, look at the radar itself, not the map.
Large resource crates appear on your map once you hit zone level thresholds. But here’s the nuance: those crates are always near something else. Vendors, FBC testing facilities, and hidden organization hideouts cluster around them. Use a crate marker as a waypoint, and you’ll stumble onto a side quest or a power upgrade 80% of the time. It’s a breadcrumb trail the game never describes.
Also: you can mark a crate, open your map, and see the dotted lines indicating underground tunnels. The crate marker is your cheat code to finding subway entrances you’d otherwise miss.
The Quick-Start Route
Here’s the specific order that avoids all predictable backtracking:
- Prologue → Central. Calibrate the radar. This takes five minutes and unlocks the map.
- West Incursion Zone → Parking Garage fault. Get gravity shift. Do not engage world feats here yet.
- Evacuation Zone → Railyard Street fault. Get reach. Enemies are level three — fight through, don’t bother farming.
- Back to Central. Now clear every world feat, open every storefront (laundromat, diner, art gallery), and collect the health upgrade near the vendor. Kill the Factory Resident for fire ability.
- West Incursion Zone’s resonant (the one that rewards push or ground slam). Before killing it, clear that zone’s world feats. You now have two traversal abilities and fire — nothing in West Incursion is locked to you.
- Downtown. Unlock map, do the “Complete Set” quest for the Boast Guard artifact (plus 50% power recovery). Then clear world feats.
- Park. This zone is level-gated to about 6-8. Go in with at least two health upgrades and fire equipped. The mold enemies here are trivial with ignite or inferno. Kill the Park resonant to unlock mold abilities.
- Underpass. Save for last. Its enemies start at level four and scale fast. By now you’ve cycled through two resets and should be level 10-12.
This route ensures every zone’s world feats are available for farming across at least two resonant cycles, maximizing your zone XP without wasting travel time.
Non-Obvious Traversal Shortcuts
You don’t need to open every fast travel door immediately. The doors that connect zones are marked on the map once you’ve calibrated the radar. But there’s a faster way: use the gap. If you pop into the gap while standing near a fast travel door, you return to the same spot — it’s not a fast travel itself, but it pauses the timer on any combat encounter that’s aggroing you.
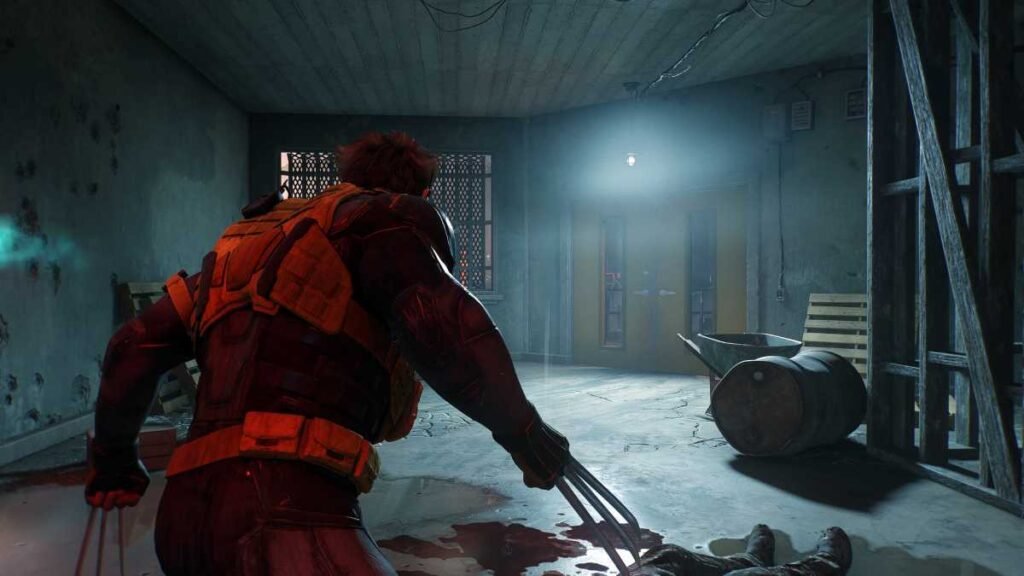
Cancel fall damage with a well-timed dodge right before hitting the ground. It’s tricky but saves runs to health upgrades.
The “rush” talent (extends sprint duration) is in the talent tree, third row. Three talent points. Get it before you tackle any vertical exploration. You’ll cover three times the distance without pausing.
Switch weapons mid-traversal. You can change your loadout while standing on a ledge or after a dodge. If you’re running with a heavy weapon you don’t need for a jump sequence, swap to something lighter — it’s cosmetic, but the animation is slightly faster.
The Vending Machine and Dog Side Route
Vending machines with a red flashing light are enemy spawns. Chase them down and they drop reset items (the rarest consumable in the game). Each machine is worth 300-500 source plus a guaranteed reset item. There are six machines across Manhattan. Hunt them after each resonant cycle because they respawn.
The dog on the roof near the Oldest House starts a seven-zone quest chain. Return its toy in each zone. The final reward is a health upgrade and a unique artifact that reduces status effect buildup. Do this alongside your zone clearing — the toy is always within 50 meters of the dog’s current location.
The taxi honk side quest (Pattern Recognition) requires you to spot hidden patterns in graffiti and billboards. This one is missable if you ignore the first taxi. Do it early because it rewards a power upgrade.
Closing
The route above treats Manhattan as a system of overlapping timers rather than a static map. Every resonant cycle is a refresh you control. Use it deliberately. If you kill three resonants back-to-back without farming, you’ll face level 12 enemies with a level 7 build. That’s not challenge — it’s a soft lock.
New Game Plus lets you revisit ability choices you skipped, but the exploration route stays the same. The only difference: you’ll know exactly where every shortcut, crate, and dish is before you start running.