You already know how to equip the shield. You know it blocks damage. That’s the surface level. What the game never tells you is that the shield is the most misunderstood tool in your entire loadout. Used wrong, it’s a power drain that leaves you dead. Used right, it’s the fastest way to chain dominance and stack burn without ever touching your weapon.
This article assumes you have the shield ability unlocked and have some hours in the game. We’re skipping the tutorial. Let’s go straight to what actually changes your play.
Shield is not a panic button — it’s an offensive commitment.
The True Cost of Raising a Shield
Every combat ability draws from the same power bar. Shield demands more than any other of that resource. Raising the barrier costs roughly one third of your total bar. Dashing through an enemy with the shield active costs another significant chunk. Pulling off a fire shield dash after igniting your abilities? That’s an even steeper price.
Most players activate shield when they panic. They block one hit, then find themselves with zero power and no way to follow up. That’s the trap. Shield is not a panic button — it’s an offensive commitment. You need to calculate whether you have enough power left after the shield sequence to still cast your other abilities or execute a combo.
Rule of thumb: If your power bar is below 60%, don’t raise the shield. Use a dodge instead. Let the shield only come out when you have a full bar and a specific plan for what happens next.
The Shield Dash Is Not Just Mobility
The charged dash through an enemy deals respectable falter damage — more than any single light attack. But the real value is how it interacts with small enemies. A single shield dash can instantly fill the falter gauge on a grunt enemy, allowing you to execute them immediately. That execution triggers the dominance buff: primary and combo finisher damage doubles for eight seconds.
This is the loop that separates average players from good ones. You don’t use shield to survive. You use it to create a free kill, then ride that damage buff into a harder target.
Execution sequence:
- Identify a lone grunt or a low-health enemy.
- Activate shield, dash through that enemy.
- Execute (press the stick) as soon as the falter bar fills.
- Immediately close distance to the real threat — a heavy or a resident boss — and unload your combos while dominance is active.
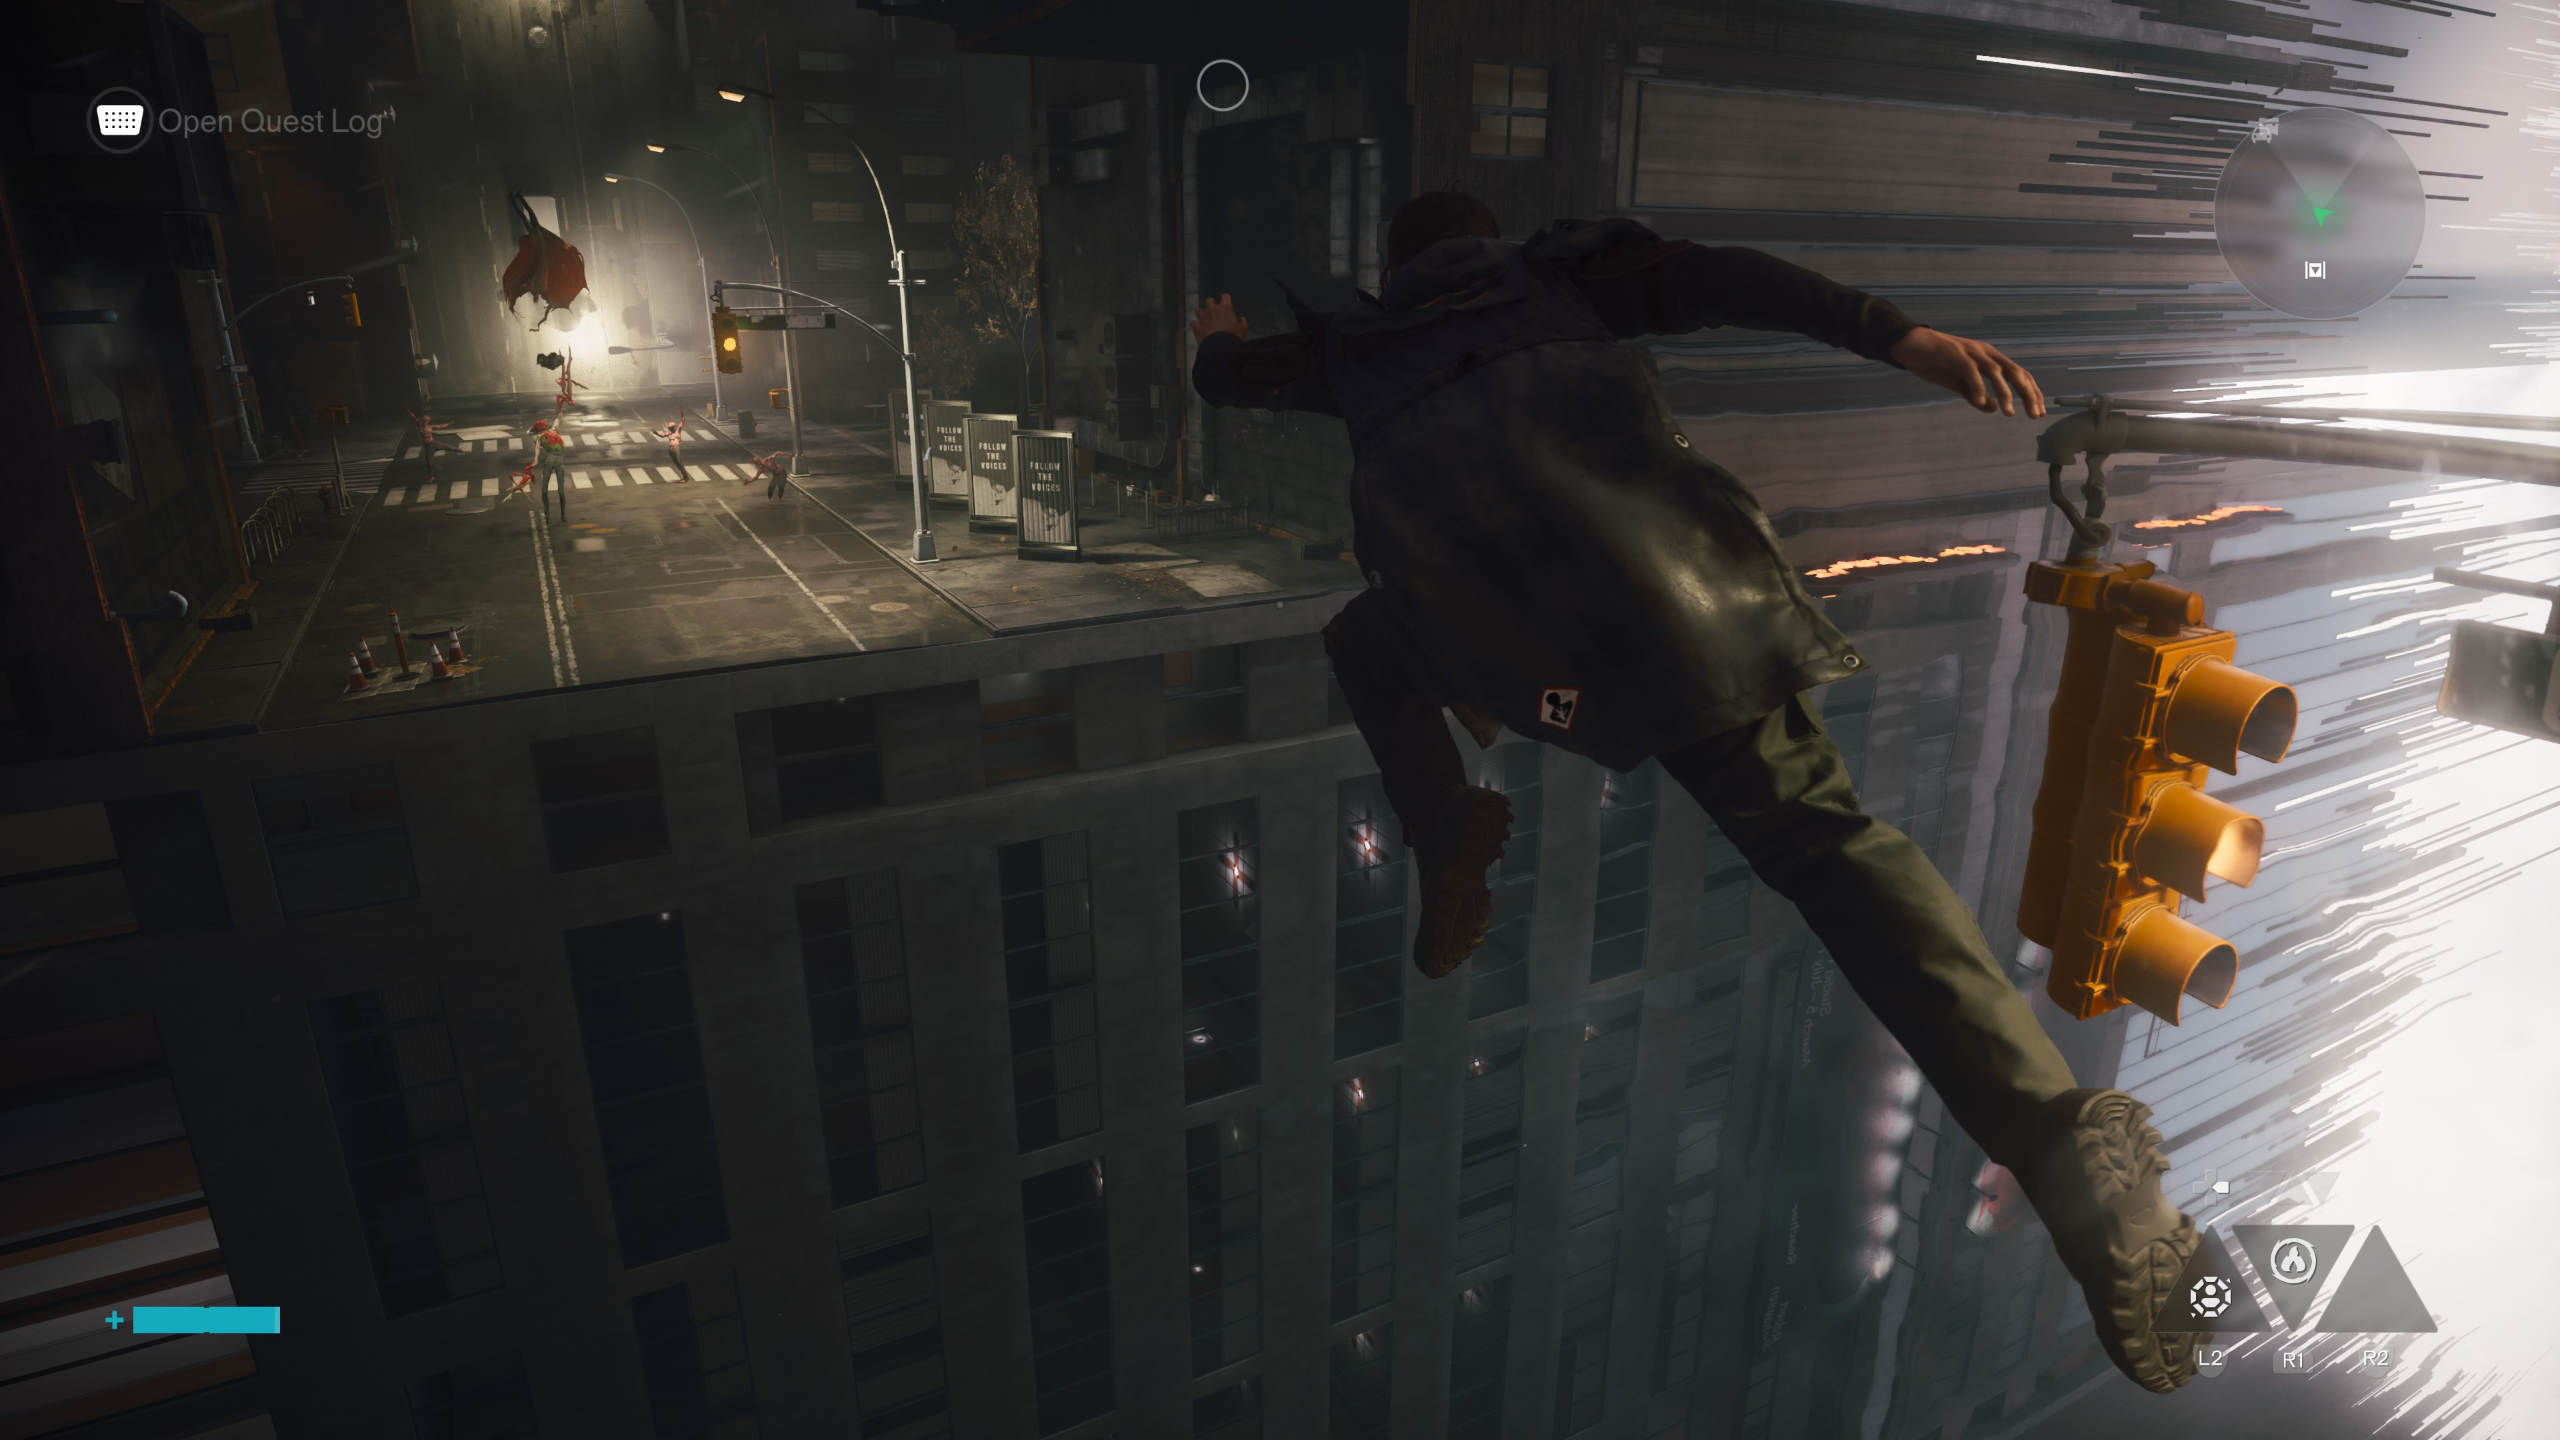
The shield dash even works mid-air, which means you can knock an enemy into the air, dash through them, and still land in time for the execution. That’s harder to pull off, but worth practicing because it keeps you mobile.
Fire Shield – The Real Synergy
Pairing shield with the ignite combat ability (fire magic) is the single best elemental combo in the game. Here’s how it works step by step.
Requirements: You must have both the shield ability (from defeating the Downtown resonant) and ignite (from the Central factory resonant). If you chose inferno instead of ignite, this combo cannot be done. Re-spec if you must.
Activation:
- Cast ignite. Your attacks now deal burn damage and drain power over time.
- While ignite is active, raise your shield. The shield visually catches fire.
- Dash through an enemy with the fire shield. The dash deals burn damage and applies the burning status effect instantly.
The result is a burst of fire damage that bypasses most enemy defenses. It’s particularly devastating against mold enemies, which are weak to fire. A single fire shield dash can strip a mold unit’s entire health bar if you follow up with a quick combo.
Cost analysis: This sequence consumes roughly half your power bar. You cannot sustain it repeatedly. Use fire shield as an opener or a closer — not as your primary attack.
A lesser-known extension: The fire shield dash also works as a gap-closer against flying enemies. Most players try to shoot them down with barrage. Instead, ignite + shield dash from a rooftop will knock them out of the sky and apply burn, setting them up for an air combo.
When to NOT Use Shield
Shield is not the answer for every fight. Here are the three situations where it backfires.
Fast chain attackers: Enemies that hit in rapid succession (Hiss Elevated, certain mold spores) will drain your power bar before you can even dash. The shield breaks after absorbing a few hits. Against them, perfect dodges are safer and cheaper.
Small enclosed spaces: Shield dash has a travel distance. In tight corridors or on narrow ledges, you’ll overshoot the enemy or knock yourself off the map. Ground slam or push are better for those environments.
When you need to save power for a summon: Some boss fights require you to drop multiple volatile anomalies or growth summons to distract enemies. If you burn your power on a shield dash, you lose those tools. Look ahead at the fight’s mechanics. If you see a timer or a need for sustained damage, skip the shield.
The Shield Startup Window
Here is the exact piece of information that very few players notice: The shield animation has a 12-frame startup window before it becomes active. That’s about 0.2 seconds. If an attack lands during those first frames, you take full damage and the shield does not activate.
This means you cannot react to attacks that are already in flight. You must pre-cast the shield when you see the enemy’s wind-up animation. Against resident bosses that have long telegraphs (like the Artist’s rock throw), you have time. Against his grunts with fast projectiles, don’t bother.
Practical advice: Remap the shield button to a trigger if you haven’t already. The default face-button placement makes it harder to cast quickly while maintaining movement. Putting shield on LT/L2 frees your thumb for dodging and jumping.
The Artifact That Changes Shield Play
One artifact makes shield builds substantially more viable: the Bolt Guard. It increases power recovery by 50% but makes Dylan take 20% more damage. That trade-off sounds reckless, but if you are using shield as your primary defensive tool, you aren’t taking many hits anyway. The extra power recovery lets you cast shield more often and still have power left for ignition and combos.
You can obtain Bolt Guard by completing the “Complete Set” side quest in the auction house (Downtown zone). If you haven’t done that quest yet, prioritize it after unlocking shield.
One Final Nuance for Boss Fights
Late-game residents often have attacks that leave environmental hazards — pools of mold, patches of fire, etc. The shield can block these ground effects if you raise it while standing on them. The blocking will drain your power quickly, but it buys you time to reposition without taking status damage. Most players never consider using shield for environmental protection because they think of it only as an anti-enemy tool. Against the Park Resident (mold boss), this trick can save your life.
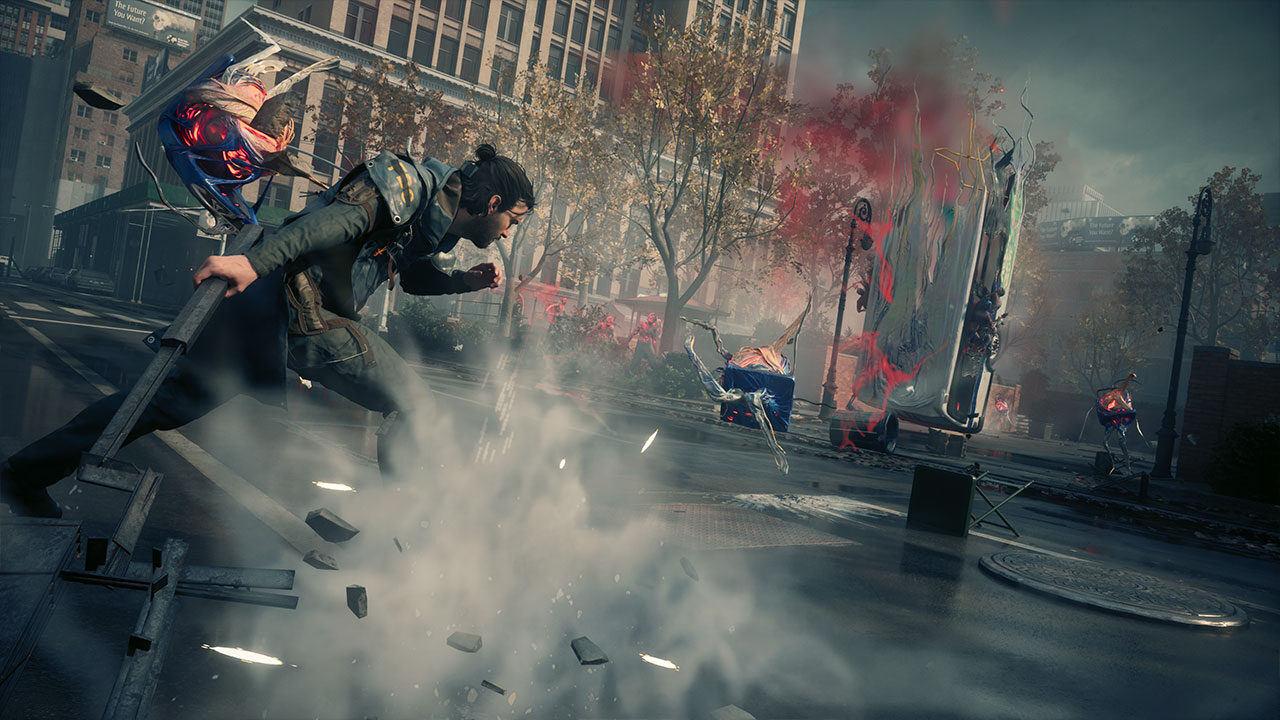
The shield is not a crutch. It’s a scalpel. Use it exactly when the math works, and you’ll wonder why you ever thought it was weak.
- What is the true cost of raising a shield?Raising the barrier costs roughly one third of your total power bar, and dashing through an enemy with shield active costs another significant chunk. You need to ensure you have enough power left to follow up.
- How does the shield dash interact with small enemies?A single shield dash can instantly fill the falter gauge on a grunt enemy, allowing an execution that triggers the dominance buff for doubled damage.
- What artifact benefits shield play?The Bolt Guard artifact increases power recovery by 50% but makes Dylan take 20% more damage, making shield builds more viable.