How To Defeat The High Sacrificer Of The Darkhorn Clan In Cinderia
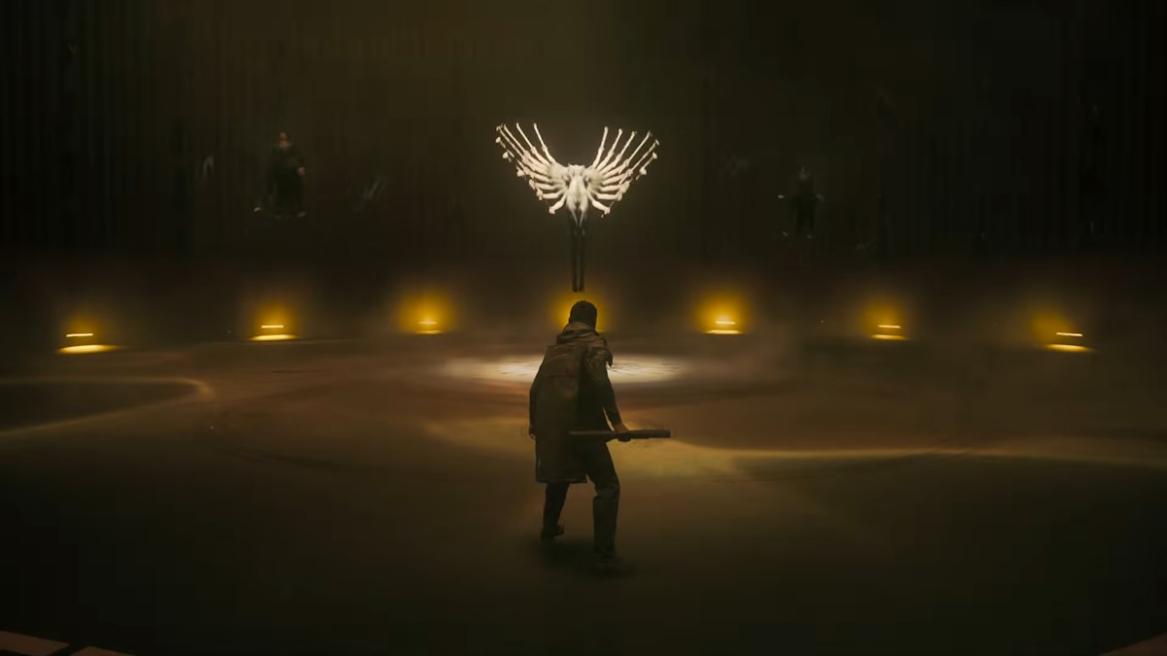
Cinderia’s boss fights blend fairytale inspiration with stark originality, a principle embodied by Kabraks the Soulrend, the High Sacrificer of the Darkhorn Clan. This formidable antagonist, a long-winded and powerful goat-like entity evoking shades of Baphomet, presents a multi-phase tactical challenge. Success hinges on understanding his evolving moveset, managing the arena’s dynamic hazards, and adapting your strategy from spatial control to close-quarters precision.
Location Of The High Sacrificer Of The Darkhorn Clan
Kabraks the Soulrend is encountered as the third boss in Cinderia’s progression. He resides within the Mines region, following victories over the Ashen Adjudicator in the Town Ruins and the Fairy Queen in the Lightless Forest. Approaching this confrontation demands thorough preparation; his mobility is significant, and his repertoire includes abilities that will compel rapid repositioning and swift, high-damage responses.
High Sacrificer Of The Darkhorn Clan Moveset
The boss’s combat approach shifts dramatically between phases, transforming the battle’s fundamental nature.
Phase One
Phase One establishes a large arena where tactical positioning is paramount. Kabraks will actively pursue the player while simultaneously deploying environmental threats. The core strategy inverses the Fairy Queen fight; here, you must outrun the boss to address scattered totems.
| Attack | Description |
|---|---|
| Chasing Strike | The boss relentlessly tracks your position, striking with his staff upon reaching you. This attack can be sustained until contact is made; therefore, evasive actions should be timed precisely when he closes the distance. |
| Radial Slash | Kabraks executes a rapid spin attack, hitting all directions around him with his staff. It can occur independently but frequently follows a Chasing Strike. |
| Totem Summon | The boss summons totems across the arena. While inert initially, they become critical hazards when activated by his Totem Burst ability. Prioritizing their destruction is essential. |
| Ground Burst | A red circular indicator appears beneath the player and persists for several seconds before detonating. Continuous movement is sufficient to avoid this damage. |
| Totem Burst | The boss triggers a specific totem, which flashes red momentarily before exploding and releasing a massive shockwave throughout the arena. Typically, single totems burst sequentially, though Kabraks can initiate multiple explosions in quick succession, complicating evasion. |
Phase Two
Phase Two commences when Kabraks’s health drops to approximately 30%. The arena is severely constrained, and his moveset becomes more focused, intensifying the duel into a direct, confined engagement.

| Attack | Description |
|---|---|
| Totem Arena | Upon phase transition, Kabraks summons a ring of totems that enclose the central battlefield, trapping both combatants within. This barrier is permanent for the remainder of the fight. |
| Enemy Summon | The boss calls a medium-strength minion to aid him within the Totem Arena. While individually weak, this adversary can disrupt your focus and must be dispatched promptly, though Kabraks may resummon it after a delay. |
| Attack Combo | Kabraks abandons his Chasing Strike and Radial Slash, adopting a sequenced combo of swings and slams. These strikes are directional, targeting only the area in front of him. |
How To Beat High Sacrificer Of The Darkhorn Clan
Phase One strategy requires bifurcated attention: approximately half your effort should be directed at eliminating totems, while the remaining half focuses on damaging Kabraks himself. General priority favors totem destruction due to the severe threat of Totem Burst. However, the boss can replenish totems rapidly. When observing a fully healthy totem beginning to glow red, forego attempts to destroy it; instead, prepare to evade its explosion and utilize that time window to assault Kabraks directly. The Chasing Strike demands careful timing; dodging prematurely allows him to maintain pursuit and connect the strike. Due to the follow-up potential of Radial Slash, evasion should always be directed away from the boss, not toward him.
Phase Two, while prone to inducing panic, is simplified by Kabraks’s narrowed moveset. The summoned auxiliary enemy must be eliminated immediately to preserve your tactical clarity. Backstab attacks become crucial here, as the boss’s movements are slower and his attack recoveries are prolonged. Investing in accessories that augment Critical Damage and enhance Backstab-specific effects is highly advantageous for this phase. Upon his defeat, progression to the next area of Cinderia is unlocked.
Mastering the High Sacrificer requires recognizing the distinct rhythms of each phase: the first a sprawling battle of arena management and target prioritization, the second a confined test of evasion and precision counter-attacks. Adapting your approach to these shifting conditions, while maintaining aggression against his summons and environmental traps, will secure victory against this formidable denizen of the Mines.