In the chaotic trenches of Over The Top: WWI, victory doesn’t belong to the player with the quickest trigger finger or the most precise aim. Instead, matches are consistently decided by teams that grasp the deeper tactical layers of positioning, spawn management, and battlefield awareness. This fundamental shift from pure combat proficiency to strategic thinking forms the core of a winning playbook, distinguishing successful squads from those perpetually stuck in a cycle of respawns and frustration.
Frontline Combat Classes: Beyond the Rifle
The Rifleman, Stormtrooper, Specialist, and Armored classes represent the game’s primary combat force. While they lack the construction duties of Engineers or the command functions of Officers, their role is far from mindless. Effective play with these classes demands acute situational awareness and a disciplined approach to the front line.
Reading the Battlefield Map
The most common and costly mistake for new players is the instinct to congregate. Piling a dozen soldiers into a single trench or shell hole creates a dense, irresistible target for grenades, artillery barrages, and sweeping machine gun fire. Instead of reinforcing a position, this behavior dooms it. The tactical map is the essential tool to avoid this pitfall. Frequent checks should guide your movement toward areas where your team’s presence is thin, where an objective is under pressure, or where an enemy push is beginning to form. Reinforcing a struggling flank with just two or three players can prevent a total defensive collapse that often occurs simply because an attack went unnoticed until it was too late.
Strategic Positioning During Assaults
During offensive pushes, players typically encounter one of two scenarios. When facing heavy, organized enemy fire, survival and suppression become the immediate priorities—stay in cover and wait for an opening. The real opportunity for advancement comes when enemy resistance is weak or disorganized. This is the critical moment where positioning dictates success. If teammates are clumping together, the correct move is not to join them but to find a flanking angle or support a smaller, forward-moving group. A team spread across a sensible width is exponentially harder to eliminate with a single explosive or machine gun burst, mirroring the dispersed assault tactics that evolved in the actual conflict.
Weapon Mechanics and Underutilized Tools
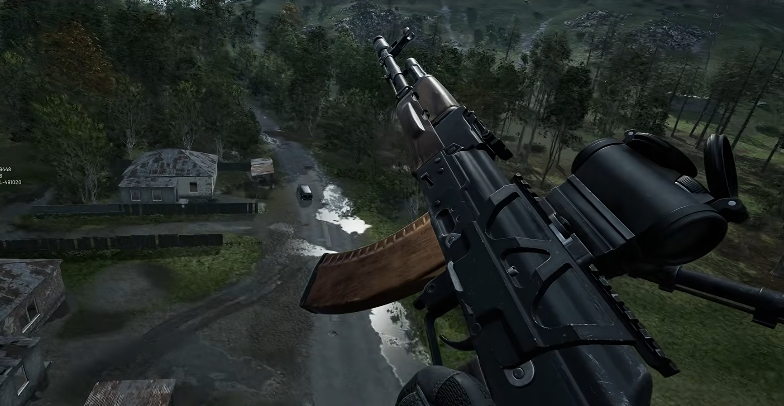
Weapons in Over The Top: WWI behave differently than in many mainstream shooters, rewarding patience and understanding over twitch reflexes. Rifles and heavy machine guns possess effective ranges that many players underestimate. Distant machine gun nests or entrenched positions are not merely scenery; they are viable targets for suppression or elimination, and engaging them can relieve immense pressure on your advancing teammates.

The Reality of Mortars and Melee
Conversely, mortars, while devastating at close quarters, see their accuracy diminish significantly at longer ranges, making heavy machine guns or cannons more reliable for consistent long-range fire. Furthermore, the game encourages calculated aggression. With fast respawns and no penalty for death beyond time lost, well-timed aggressive pushes are often the correct tactical decision. This extends to melee combat. While risky, bayonet charges are highly effective in specific situations—jumping an obstacle to attack a distracted enemy or exploiting close-quarters confusion can be decisively effective, capturing the brutal, intimate nature of trench warfare.
The Universal Value of the Spade
One of the most overlooked tools across multiple classes is the digging implement. It is not exclusive to Engineers. Even a shallow scrape or a modest firing position dug by a Rifleman can provide crucial cover, turning a vulnerable patch of ground into a tenable defensive point. This simple act of modifying the terrain is a low-effort, high-reward tactic that dramatically increases individual and squad survivability.
The Engineer: Architect of Defense
The Engineer class is the foundational element of any sustained defense. A skilled Engineer doesn’t just build; they design terrain to channel and break enemy assaults. The primary rule of trench construction is absolute: never dig straight trenches. A straight trench is a kill box, allowing a single enemy gunner to enfilade its entire length. Effective trenchworks must incorporate corners, turns, and segmented sections to break sightlines and create defensible strongpoints.
Designing Defenses with Foresight
Advanced engineering considers what happens if a position is overrun. A poorly designed trench can be effortlessly turned against its builders. Smart designs include covered firing positions that overlook trench segments, allowing defenders to grenade or shoot into them if captured. A simple combination—a trench corner reinforced with sandbags and a partial wall—can create a formidable strongpoint that requires coordinated effort to dislodge. Defense is not a static act of holding a point but a dynamic process of controlling the area around it, where the fluid battle for map control is truly fought.
Spawn Point Strategy: The Silent Decider
Spawn management is a deceptively deep mechanic that routinely decides match outcomes. With a limited number of active spawn points per team, their placement is a critical resource. Engineers must prioritize building spawns in locations that are hidden from direct enemy fire, positioned slightly behind the active objective to allow for counter-attack staging, and with enough surrounding space to prevent spawning players from instantly dying in a cramped area.
The Art of Spawn Maintenance
As the front line ebbs and flows, spawn points must be actively managed. Engineers can remove outdated spawns using their hammer in destroy mode, but this should be done judiciously. A spawn that seems too far back during an advance may become a vital fallback position during a retreat. The etiquette is clear: manage your own spawns before considering removing those built by others. A well-protected spawn in a sub-optimal location is almost always superior to a perfectly positioned spawn sitting vulnerably in the open.
The Officer: Force Multiplier and Linchpin
The Officer is the most versatile and influential class, acting as a mobile spawn point, fire support platform, reconnaissance asset, and direct counter to enemy Officers. A well-positioned Officer can instantly reinforce a crumbling flank by allowing teammates to spawn directly on them, bypassing the need for a built spawn point. Their explosive abilities can dismantle enemy fortifications, while spotting flares reveal enemy troop movements, providing the entire team with invaluable intelligence.
Orchestrating the Front Line
Perhaps the Officer’s most crucial function is cohesion. By deploying defensive balloons to block enemy artillery in key zones and by virtue of their presence, a good Officer helps transform a scattered collection of individual players into a coherent, pushing front line. They are the catalyst that turns potential into coordinated action, often making the difference between a disjointed assault and a successful capture.
Ultimately, Over The Top: WWI systematically rewards the thoughtful commander over the lone sharpshooter. Matches are won not in the scope of a rifle but in the strategic use of the map, the intelligent construction of defenses, and the careful management of team mobility. Mastery begins not with perfect aim, but with the decision to look up from your sights, assess the broader battle, and move to where you are needed most. The players who embrace this mindset become the unseen architects of victory, shaping the flow of the battle long before the final objective is secured.