At first glance, Over The Top: WWI presents itself as a straightforward trench warfare shooter where victory is decided by marksmanship and reflexes. New players spawn, grab a rifle, and charge forward into the chaos of no man’s land. However, experienced commanders and consistent winners know a different truth: the teams that dominate the battlefield are rarely those with the most precise aim. Instead, victory belongs to those who master the game’s deeper tactical layers—positioning, pressure management, and, most critically, spawn point control.
The Illusion of Simplicity in Trench Warfare
The initial learning curve of Over The Top: WWI can be deceptive. The core mechanics of shooting, moving, and capturing objectives appear accessible, leading many to believe that individual combat prowess is the primary path to success. This perception is quickly shattered after several matches, where players witness well-coordinated squads systematically dismantling disorganized groups of skilled shooters. The game’s design intentionally shifts the focus from twitch-based gunplay to squad-based tactics and map awareness, creating a unique niche within the military simulation genre.
Frontline Combat: Beyond the Rifle Sight
For the core combat classes—Rifleman, Stormtrooper, Specialist, and Armored—the role is ostensibly straightforward: engage the enemy. Unlike Engineers or Officers, these classes carry less responsibility for team infrastructure, granting them freedom to maneuver. However, this freedom is not a license for mindless aggression. The single most common and costly mistake made by new players is the instinct to reinforce success by piling into an already crowded position.
Reading the Battlefield Map
The in-game map is not merely a navigational tool; it is the most critical piece of intelligence available. Constant map checks are non-negotiable. Successful players use it to identify critical weaknesses rather than to follow the crowd. The key areas to monitor are zones where your team’s presence is thin, an objective is under sustained pressure, or an enemy push is beginning to coalesce. A defense often collapses not because it was overpowered, but because it was ignored until reinforcements arrived too late. A simple callout in team chat or a decision to redeploy can prevent a catastrophic breakthrough.
Strategic Positioning During Attacks
Offensive maneuvers typically present one of two scenarios. The first is a stalemate under heavy enemy fire, where survival and suppression are the only immediate goals. The second, and more decisive, occurs when enemy resistance is weak or disorganized. This is where positioning dictates the flow of the battle. The instinct to cluster with teammates in a trench or shell hole must be resisted. Instead, effective players spread out to flank or support smaller, advancing groups.

This tactical dispersion serves a vital purpose: it makes the attacking force exponentially harder to eliminate with a single machine gun sweep or artillery strike. The goal is not to simulate historically accurate, widely spaced assault formations but to avoid presenting a dense, immobile target—a “mosh pit” that invites devastating area-of-effect attacks.
Weapon Mechanics and Underutilized Tools
The arsenal in Over The Top: WWI behaves contrary to expectations set by faster-paced shooters. Understanding these nuances provides a significant tactical edge.
Effective Engagement Ranges
Rifles and machine guns possess a much longer effective range than many players assume. Distant targets, such as a machine gun nest pinning down teammates, are often engageable. A few well-placed rounds for suppression or elimination can change the dynamics of a firefight. Conversely, mortars, while powerful, suffer from decreasing accuracy at long range, making heavy machine guns and cannons more reliable for consistent long-range pressure.
The Utility of Digging and Melee
Two tools are consistently underrated by the player base. First, digging tools are not exclusive to Engineers. Several combat classes can equip them, and even a shallow, hastily dug firing position can mean the difference between life and death. Creating a small depression or modifying existing terrain provides crucial cover and transforms a vulnerable patch of ground into a strongpoint.
Second, melee combat has a legitimate, if niche, role. While a bayonet charge across open ground is suicidal, melee attacks are highly effective in close-quarters chaos, especially when an enemy is distracted or an obstacle obscures the approach. A swift, unexpected melee strike over a trench parapet can decisively clear a position, embodying the brutal, intimate nature of World War I combat.
The Engineer: Architect of Defense
The Engineer class is the foundational pillar of any durable defense. A skilled Engineer does not just dig holes; they sculpt the battlefield to their team’s advantage. The primary rule of trench construction is absolute: never dig straight trenches. A straight trench is a kill zone, allowing a single enemy gunner to enfilade its entire length. Effective trench networks incorporate corners, turns, and segmented sections to break sightlines and compartmentalize the defense.
Designing Defensible Positions
Advanced trench design also considers the possibility of capture. A poorly positioned trench can be turned against its builders. Engineers should design defenses with overlapping fields of fire, ensuring that if a section of trench falls, defenders in adjacent positions can still fire or throw grenades into it. A simple setup—a corner position reinforced with sandbags, overlooking a communication trench—can create a formidable strongpoint that is difficult to assault and dangerous to occupy.
The Principles of Dynamic Defense
Defense in Over The Top: WWI is not a passive activity of holding a static line. It is a dynamic process of anticipating enemy movement and preparing countermeasures. The most critical concept for defenders is to always maintain a position ready for a counterattack. When an objective falls, attackers are momentarily vulnerable as they reorganize. A pre-positioned spawn point and a secure staging area nearby allow defenders to launch an immediate, coordinated counter-push before the enemy consolidates.
Spawn Point Placement for Defense
For Engineers, defensive spawn placement is a top priority. Ideal spawn points are hidden from direct enemy observation, positioned slightly behind the objective (not directly on it), and have enough surrounding space to allow multiple players to spawn safely without clustering. A good defense controls not just the capture point itself, but the contested area around it where the majority of fighting occurs.
The Critical Art of Spawn Management
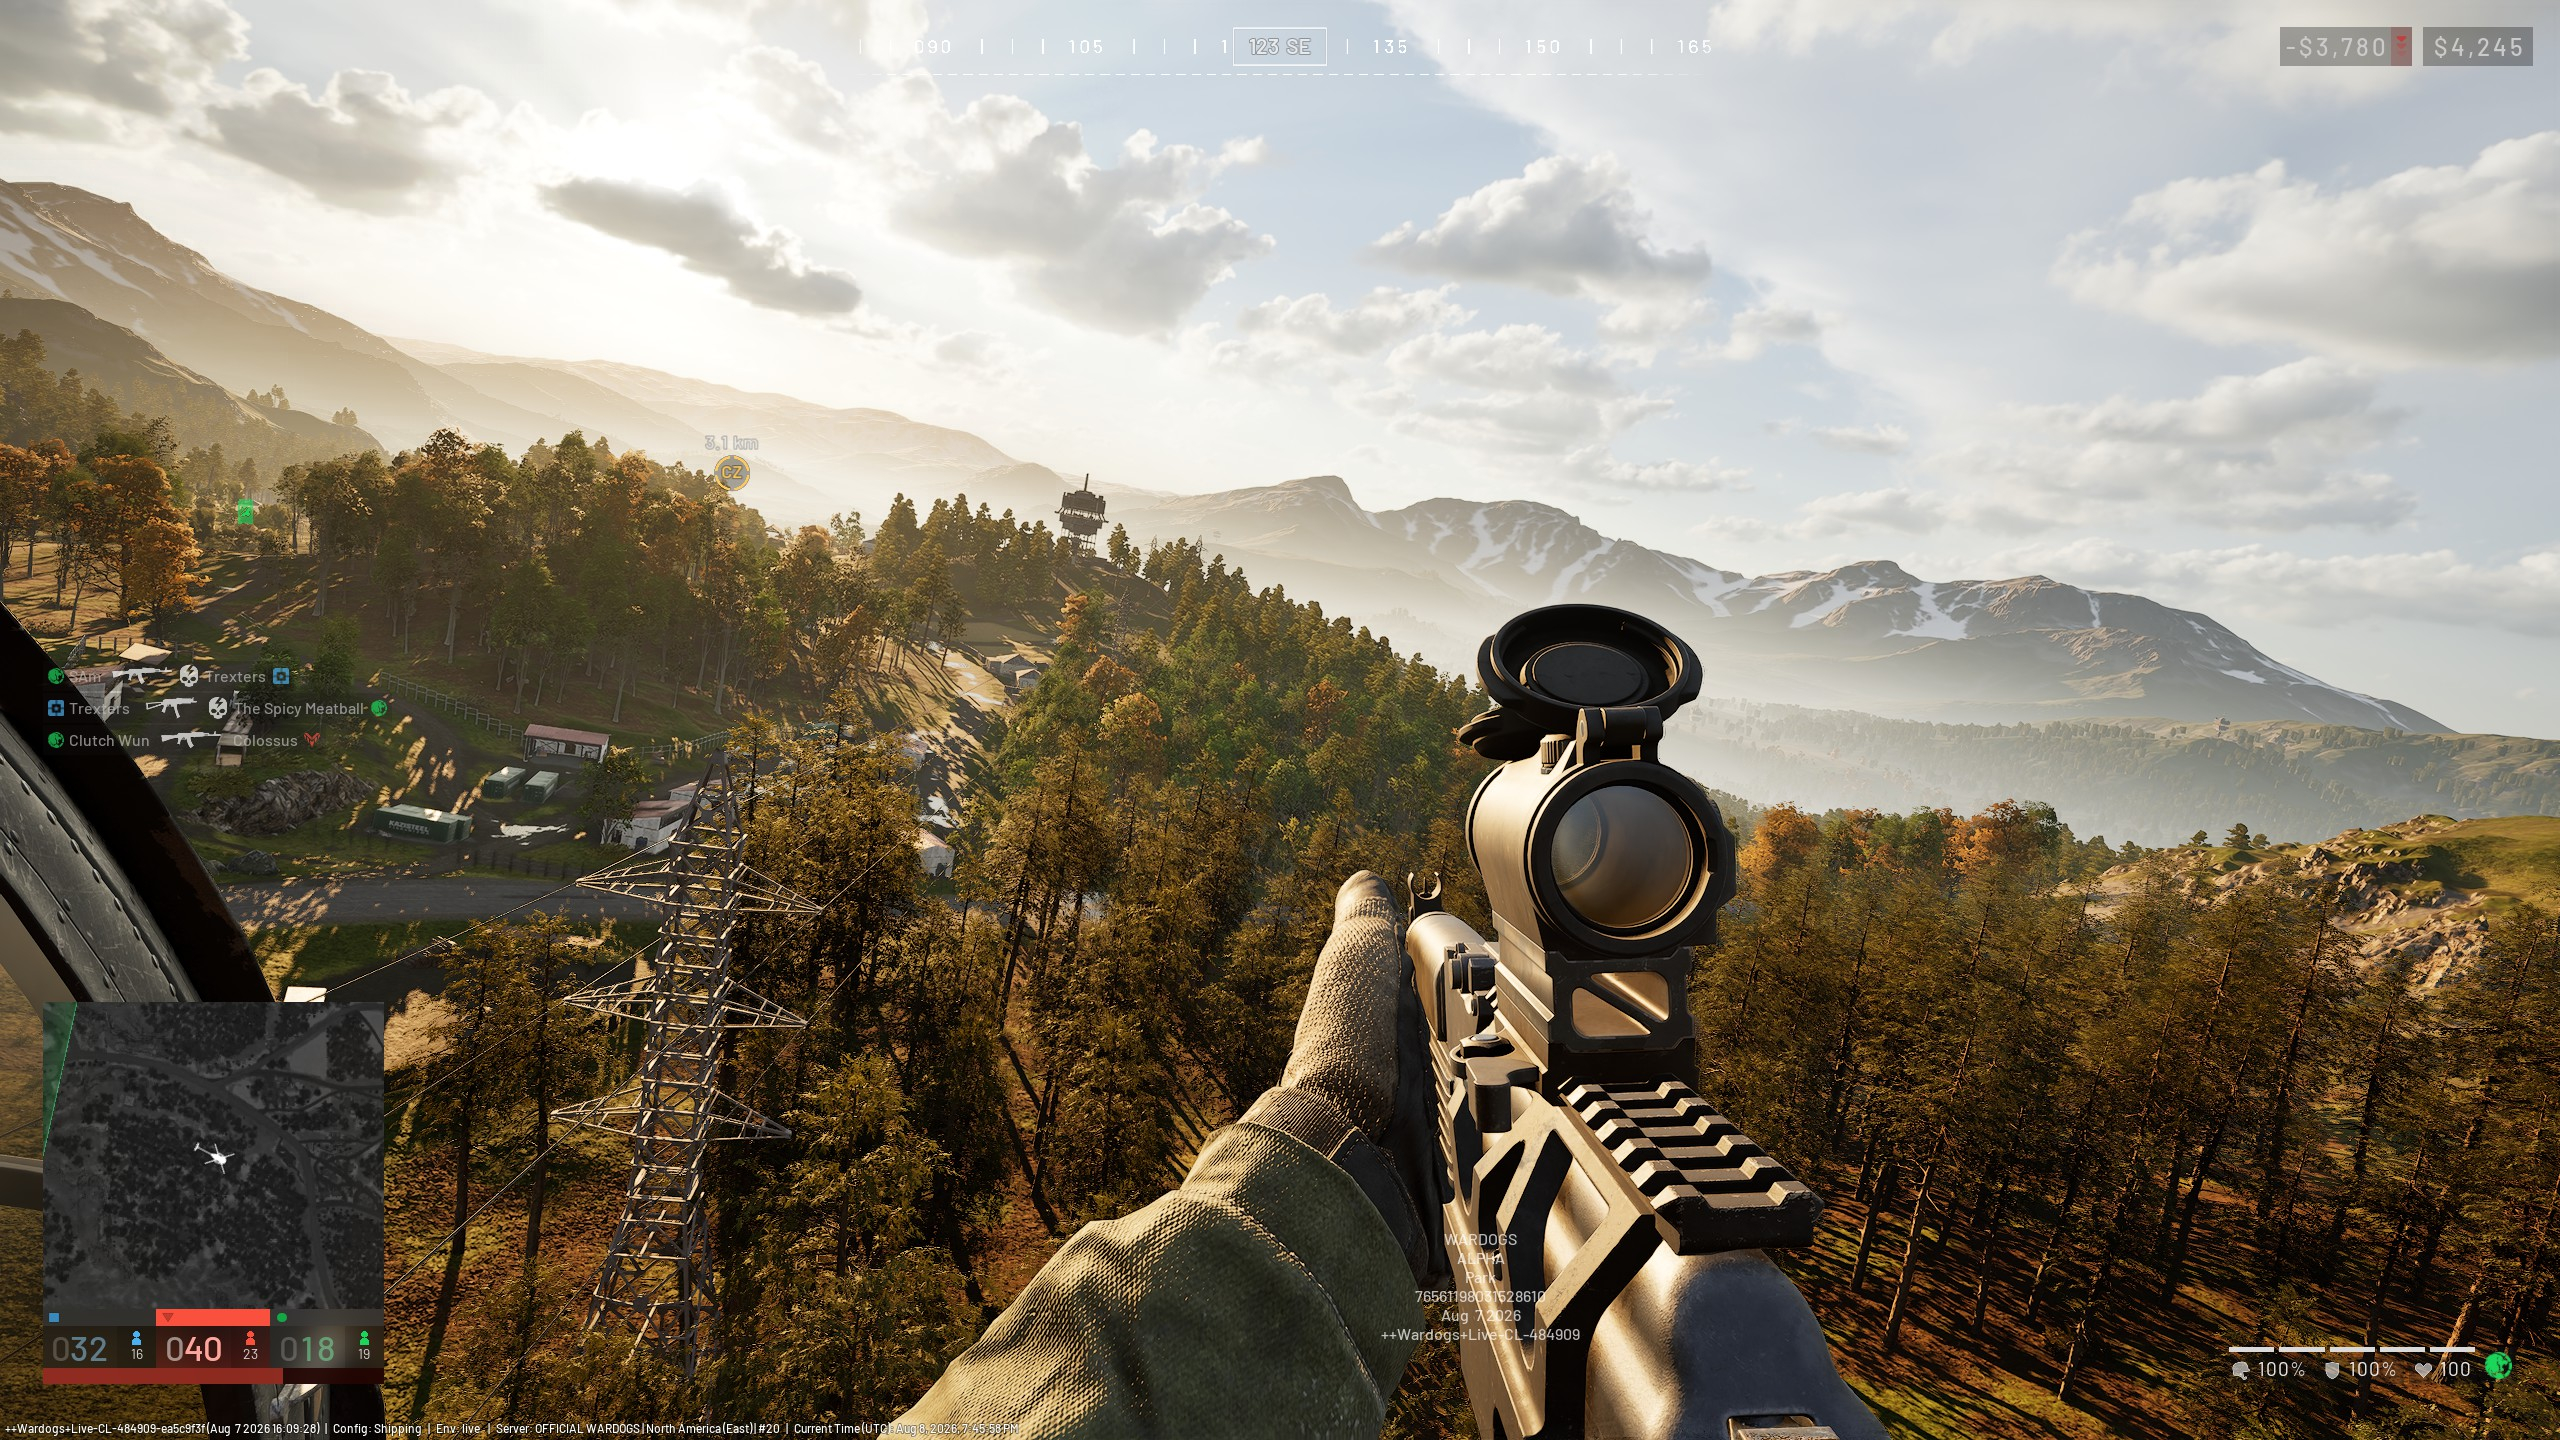
Spawn point logistics are a quiet, behind-the-scenes mechanic that frequently decides matches. With a limited number of active spawns allowed per team, a poorly placed or outdated spawn can cripple a team’s strategic flexibility. Engineers can remove spawns by spawning on them, selecting their hammer, switching to destroy mode, and dismantling the point.
Strategic Removal and Courtesy
Removal must be done judiciously. The front line is fluid; a spawn that seems too far back may become a vital fallback position after a retreat. Furthermore, a well-protected spawn in a suboptimal location is often more valuable than a perfectly positioned spawn exposed to enemy fire. A basic courtesy within the community is for players to manage their own outdated spawns before altering those placed by teammates, preventing accidental friction and maintaining cohesion.
The Officer: Tactical Linchpin and Force Multiplier
The Officer class is arguably the most influential on the battlefield, combining multiple roles into a single, powerful package. First, Officers act as mobile spawn points, enabling rapid reinforcement of vulnerable sectors before fixed spawns are built. Second, they provide direct fire support with explosive abilities capable of destroying enemy fortifications and disrupting formations.
Reconnaissance and Denial
Third, Officers serve as the team’s eyes. Spotting flares reveal enemy movements, providing invaluable intelligence for planning attacks and shoring up defenses. Finally, Officers can directly counter their opposite numbers. Deployable balloons can create zones that block incoming enemy artillery or fire support, a crucial ability on linear maps where a key objective may be under constant bombardment.
Beyond these mechanics, the Officer’s ultimate function is to provide cohesion. A well-positioned Officer can transform a scattered group of individual players into a coordinated, advancing front line. Their presence dictates the tempo of the attack and the resilience of the defense.
Over The Top: WWI fundamentally rewards the tactician over the pure shooter. Matches are won by teams that understand the battlefield as a system to be manipulated—through intelligent positioning, calculated spawn point management, and thoughtfully constructed defenses. While sharp aim is a valuable asset, it is the players who pause to assess the map, reinforce crumbling flanks, and enable their team to operate as a unit who truly carry the day. For those new to the trenches, mastering these foundational principles is the first and most important step toward consistent victory on the brutal fields of the Great War.