The fastest way to go broke in WARDOGS is chasing hot zone kills. That sounds counterintuitive — more action should mean more money, right? The math says otherwise. A round trip supply run in a Kodiak flatbed can net you thousands of dollars with near-zero risk of losing your gear. One death in the hot zone costs you your loadout, your time, and often your vehicle. Smart players treat their bank account like a real war chest: build it slowly, spend it only when it buys a clear advantage.
This guide lays out a single defensible strategy — generate cash through low-risk logistics and support, then invest that cash into equipment that helps you do your job better. We’ll cover what earns cash fastest, what traps to avoid, and exactly how the game’s economy changed at early access launch.
Why Supply Runs Beat Combat for Cash
The game’s tick-based income system rewards time spent in the control zone. Standing inside the circle gives you 160 cash per 30-second tick, or roughly 3,200 over ten minutes. The hot zone doubles that to 320 per tick — 6,400 over ten minutes — provided you survive that long. Most players don’t. One death wipes your loadout investment, costs you the vehicle you drove in, and forces a spawn-back trip that eats another 5–10 minutes of zero income.
Compare that to a supply run. Buy a Kodiak flatbed (unlock cost 35,000 after the launch patch, down from 15,000 in beta — a steep increase that makes it a later-game purchase). Load it with two pallets from base. Drive to a forward operating base, unload, return. A single run takes 8–12 minutes, earns roughly 3,000–5,000 cash from delivered supplies plus the XP that unlocks better vehicles, and carries almost no risk of player contact if you stick to safe routes. Run that twice and you’ve matched the hot zone’s hourly income without buying a single rifle or plate carrier.
The numbers shift further after the economy rebalance at launch. Bulkhead increased the FOB price from 2,500 to 7,500 — a 200% hike. That makes FOB placement a serious decision. But the cost of dying also rose: the large hammer unlock jumped from 25,000 to 75,000, medium hammer from 10,000 to 25,000. Losing a character with a high-tier loadout now costs you hours of earnings, not minutes.
Three Pillars of Cash Generation
Not all income sources are equal. Based on the launch patch notes and community testing from the beta, these three roles produce the highest cash-per-minute for the lowest risk.
1. Driver Logistics
The driver skill tree got reworked. The Earl (logistics truck) moved from level 4 to level 3, meaning you can unlock it within your first match. The Kodiak flatbed went from level 2 to level 10 — a significant delay that pushes the two-pallet truck to mid-game. But even the basic Kodiak can carry supply crates, and those crates pay.
The key insight: buy crates, fill them with high-demand items (building materials, medical supplies), and sell them at the hot zone FOB or to teammates. The supply crate purchase curve was rescaled — low-value items can no longer be exploited for cheap XP — but legitimate trade still pays. You earn both cash and driver XP, which unlocks the Earl and eventually the heavy truck for pallet runs.
2. Helicopter Transport
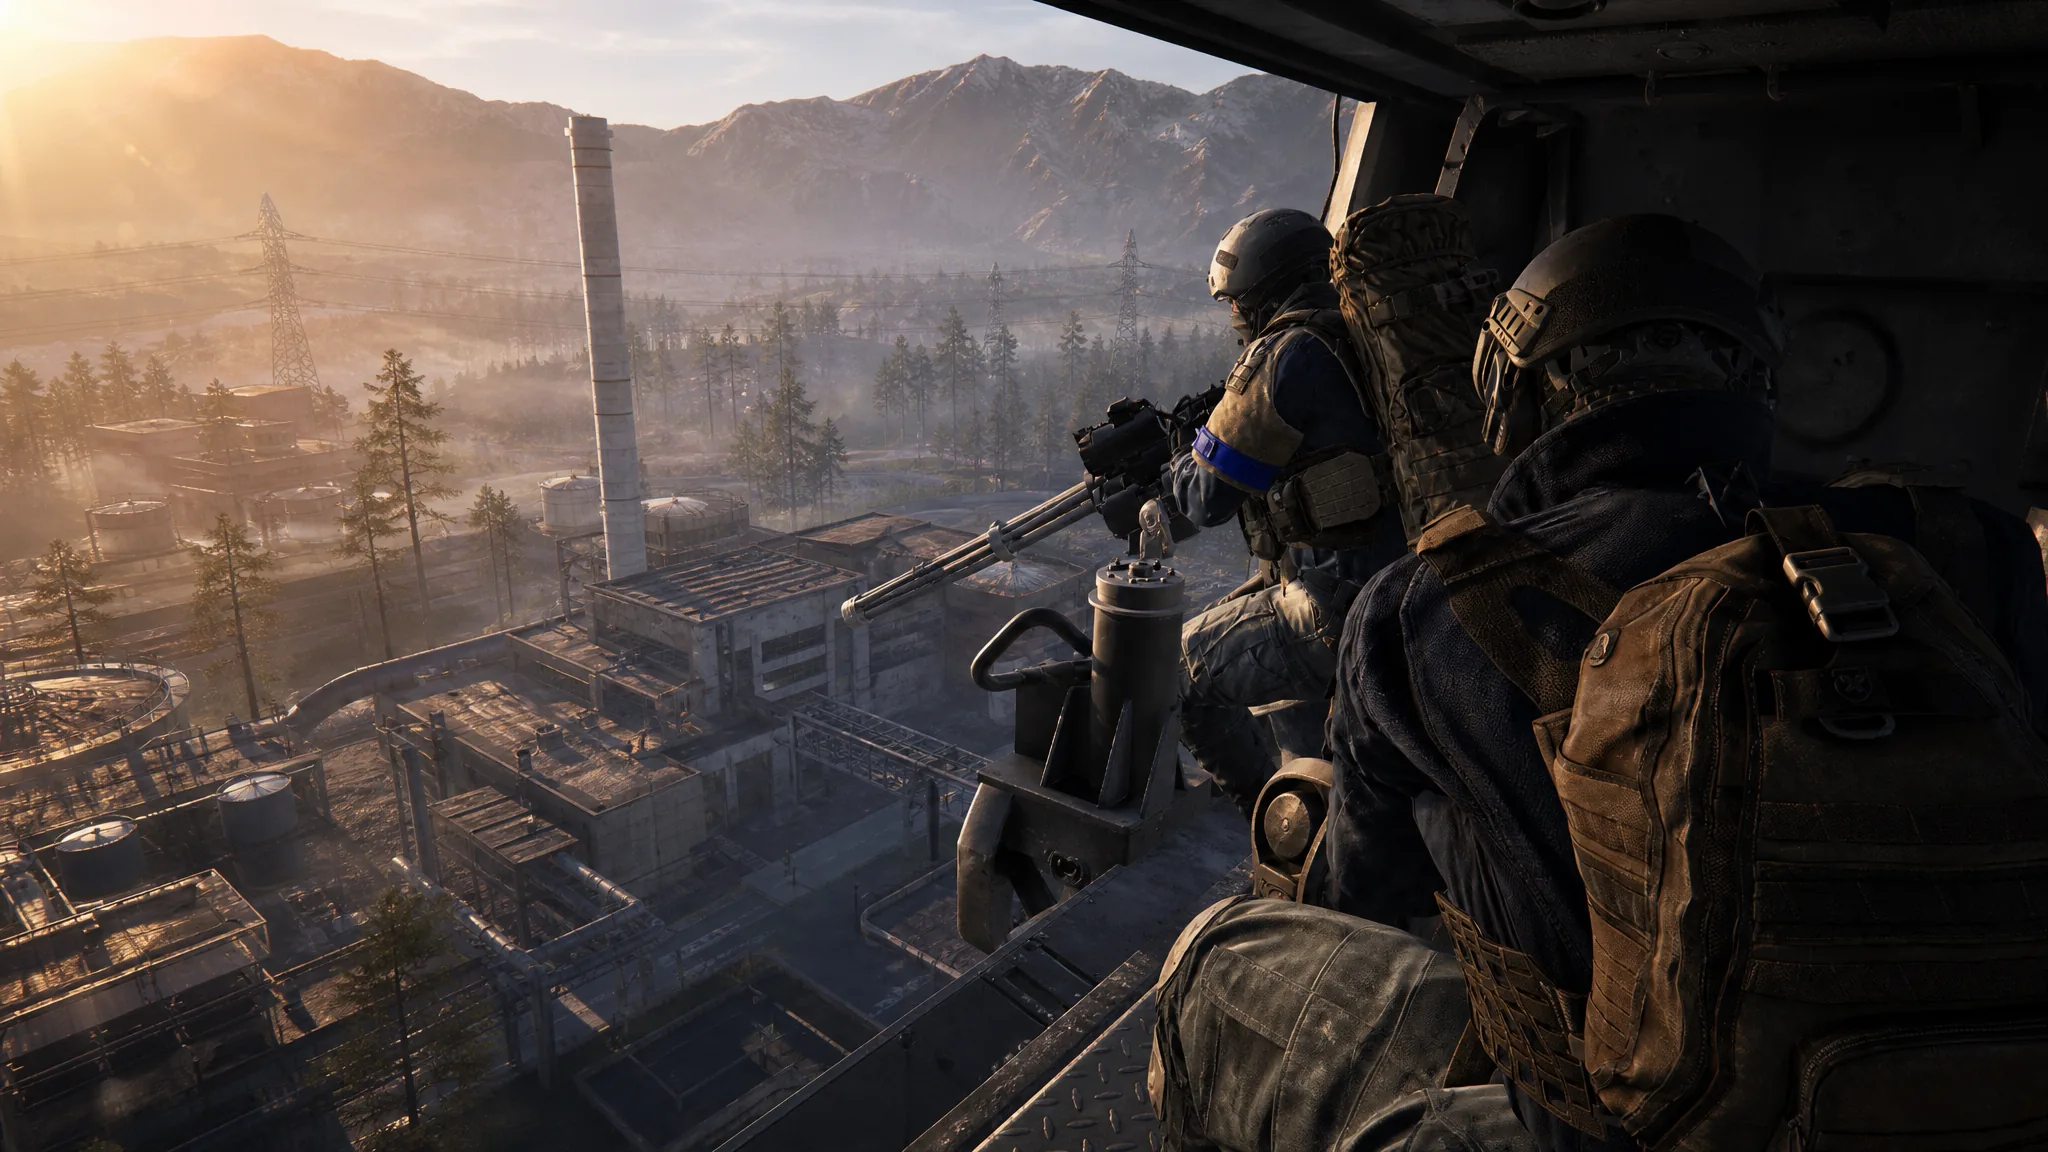
Pilot class remains the fastest path to cash if you can fly. The Little Bird with miniguns went from 25,000 to 50,000 unlock cost, but the standard transport Little Bird stayed at 25,000. The Z-20 Lakota dropped from 50,000 to 35,000, making it more affordable. Flying players into the hot zone earns you per-drop fees (most pilots charge 500–1,000 per seat), plus pilot XP. The risk is moderate: helicopters are vulnerable to small arms fire and SAM sites.
3. Base Building Support
Building is the slowest earner per minute but the safest. You place a FOB, supply it, and then construct defensive structures. The builder XP gives you medium and large hammers, which cost real cash to unlock but allow you to build tier-3 structures like SAM launchers and heavy bunkers. The cash you earn is indirect — your team wins more, and winning gives match-end bonuses. But the real value is in leveling support, which gives access to anti-tank weapons and RPGs at higher levels.
What to Spend Cash On — and What to Skip
Spending decisions matter more at launch because gear prices rose across the board.
Spend on:
- Medium hammer (25,000 unlock). Without it, you cannot build doors or advanced structures. The large hammer (75,000) is end-game luxury.
- Earl truck (driver level 3, 35,000). Two-pallet capacity makes supply runs profitable in one trip.
- Recon 6-10 MOA scope (40,000 from 25,000). Critical for snipers; the price increase hurts but the scope is transformative.
- Basic assault rifle and armor. Do not overspend. The starter AK with iron sights and a level-1 vest is enough for supply run protection.
Skip:
- Artillery tank (500,000 unlock, career level 90). The grind for this is extreme. Most players will never unlock it in normal play. Focus on driver-level 35 heavy tank if you want armor.
- FOB at 7,500 early. Do not buy a FOB in your first match. Let someone else bankroll it. Your job is to supply it.
- Large backpack (career level 55). The 3×1 slots are nice, but the free bag plus a rig holds enough for most supply runs.
The Strongest Counterargument — and Why It Fails
“Hot zone combat pays better per minute because kills stack with tick income, and aggressive players can snowball into high-tier gear faster.”
This argument sounds reasonable until you apply real numbers. A kill inside the hot zone might earn you 500–1,000 cash plus loot from the dead player, but that assumes you win the fight. The average combat lifespan in the hot zone is under 90 seconds. Your tick income in that time is roughly 10–16 cash. The probability of dying before you extract is high. Dying costs you your entire loadout — a mid-tier kit runs 15,000–25,000 cash. You need 15–25 kills just to break even on one death. Supply runs face zero such penalty.

The snowball doesn’t happen because the economy is designed to reward consistency. The XP curve changes at launch slow leveling from 10 to 20 by 40–124%. That means even aggressive players hit a wall. Meanwhile, a logistic driver doing three safe runs per hour accumulates steady cash and XP without the setback of a single bad engagement.
When to Break the Rules
There is one scenario where hot zone aggression makes financial sense: when you are part of a coordinated squad with a dedicated medic and a transport pilot who can extract you quickly. In that environment, the death cost is partially mitigated because teammates can recover your gear and the pilot gets you back into the fight in under 60 seconds. Even then, the tick income alone rarely justifies the risk. The real reward is XP from kills, not cash.
Solo players should never gamble on hot zone income. The edge case for squads shows how dependent the economy is on teamwork — a reality that makes understanding the cash flow even more important for anyone who plays without a regular group.
The bottom line: WARDOGS rewards patience. Treat your wallet like it hurts to lose it. Because in the current economy, it does.