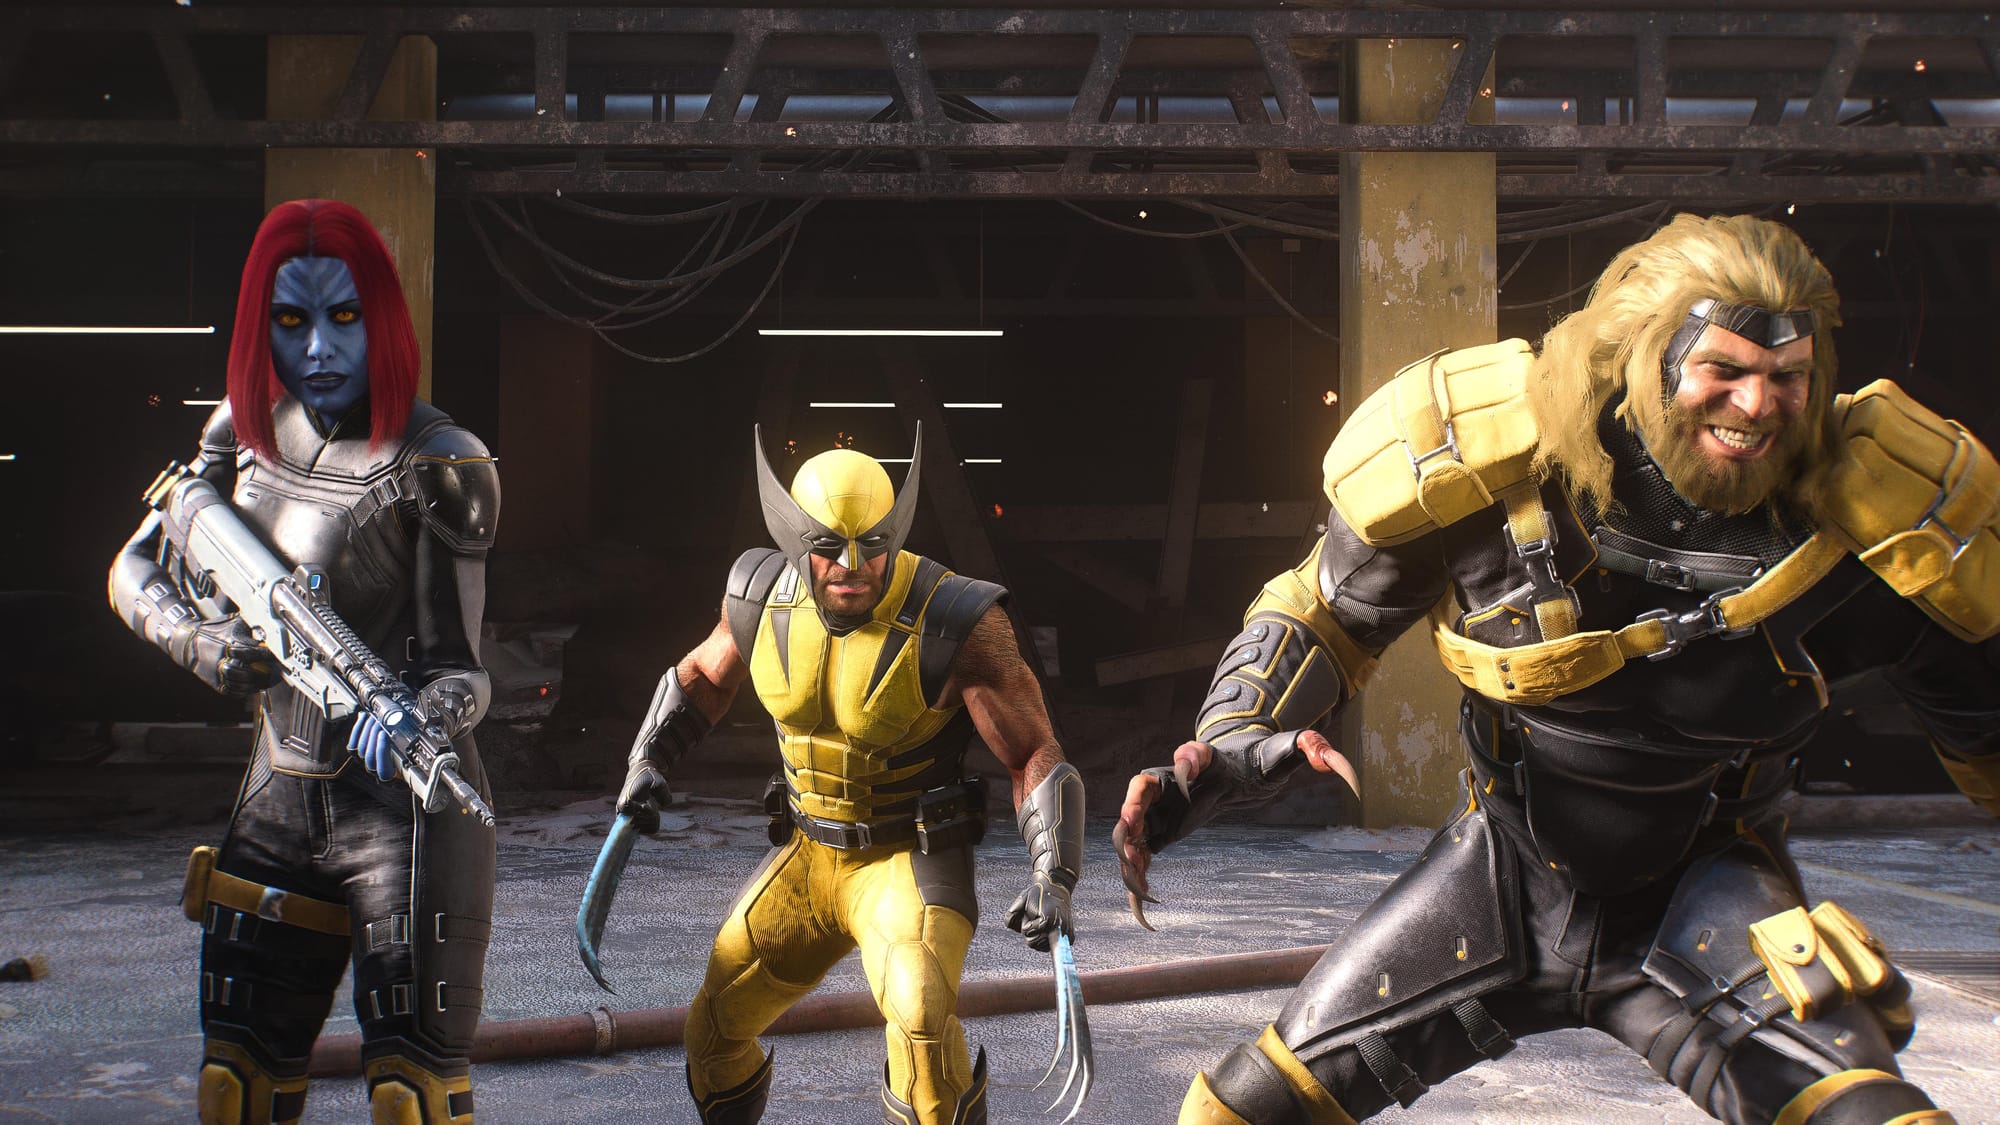
The most common mistake players make when choosing special techniques in Marvel’s Wolverine isn’t picking a weak move. It’s treating every technique as an independent button rather than as part of a system that feeds your rage meter, health, and adaptation perks. That mismatch between what a technique does and how your build uses it is why combat feels repetitive for so many players. Fix that misunderstanding, and the same moves you ignored become devastating.
Here is the authoritative tier list for Marvel’s Wolverine special techniques—ranked not by raw damage, but by how well each one integrates into the only combat loop that matters: build rage, stagger enemies, heal through parries, and never stop attacking.
The most common mistake players make when choosing special techniques in Marvel's Wolverine isn't picking a weak move.
S-Tier: The Build-Defining Techniques
These techniques are so versatile that they improve almost any setup. They generate rage efficiently, stagger reliably, and keep your health topped off without wasting adaptation slots.
Brutal Assault (Level 25)
The best technique in the game for deleting a single dangerous enemy. It closes distance, breaks through defenses, and builds rage faster than any other move. At level 2, kills build extra rage. At level 3, kills recharge the ability itself. That means you can chain Brutal Assaults across a group of elites if you finish each target. It also triggers hot claws during the assault, which bypasses block. The only downside is it leaves you briefly vulnerable if you miss, but the range and speed make that rare. If you equip one technique for tough encounters, this is it.
Relentless (Level 7)
Players often skip this because it doesn’t deal damage. That’s the misunderstanding again. Relentless acts as an emergency reset—accelerated healing, ignores stagger from weak hits, and at level 3 triggers a healing burst when near death. On higher difficulties, that burst saves you from burning a last stand. Relentless also frees up adaptation slots you would otherwise spend on healing parry or healing dodge. Equip it, and you can focus your adaptations entirely on rage generation and critical strikes. It is never a wasted slot.
Tornado Spin (Level 1)
The first technique you unlock remains one of the best crowd-control options all game. At level 3 it breaks all blocks and interrupts attacks. Use it when surrounded—it clears weaker enemies instantly and builds a chunk of rage. The key is pairing it with the Barrage Recharge adaptation. That adaptation reduces the cooldown of Tornado Spin every time you perform a barrage (square, square, square, triangle). Since you barrage constantly, Tornado Spin becomes available every 10-15 seconds. That kind of uptime is unmatched.
A-Tier: Strong When Equipped Correctly
These techniques are excellent but require a specific playstyle or adaptation support to shine. Do not equip them randomly.
Knee Breaker (Level 6)
Knee Breaker deals massive stagger damage to bosses and instantly stuns small enemies. It also interrupts power attacks and reckless attacks. The problem is it does no direct damage—it sets up a stagger but leaves you needing a follow-up. That follow-up is where Healing Strike (a passive technique, not a special) comes in. If you have Healing Strike unlocked, you can stagger with Knee Breaker and immediately heal with triangle. That combo alone can sustain you through most fights. Knee Breaker falls to A-tier because it forces you to carry a specific follow-up, but that follow-up is easy to execute.
Overwhelm (Level 20)
Overwhelm is a charging grab that tackles an enemy and knocks back everyone in your path. At level 2, killing the grabbed enemy lets you chain into another tackle. At level 3, kills recharge Overwhelm faster. This technique is outstanding for controlling battlefield position—you can throw someone off a ledge or into a wall for an instant kill. But it shines most against bosses, where you can use it to mount them instantly and then barrage for rage. The downside is it requires an open angle and won’t work if you’re surrounded by walls. Still, for environmental kills and boss mounting, it’s top tier.
Spiral Strike (Level 12)
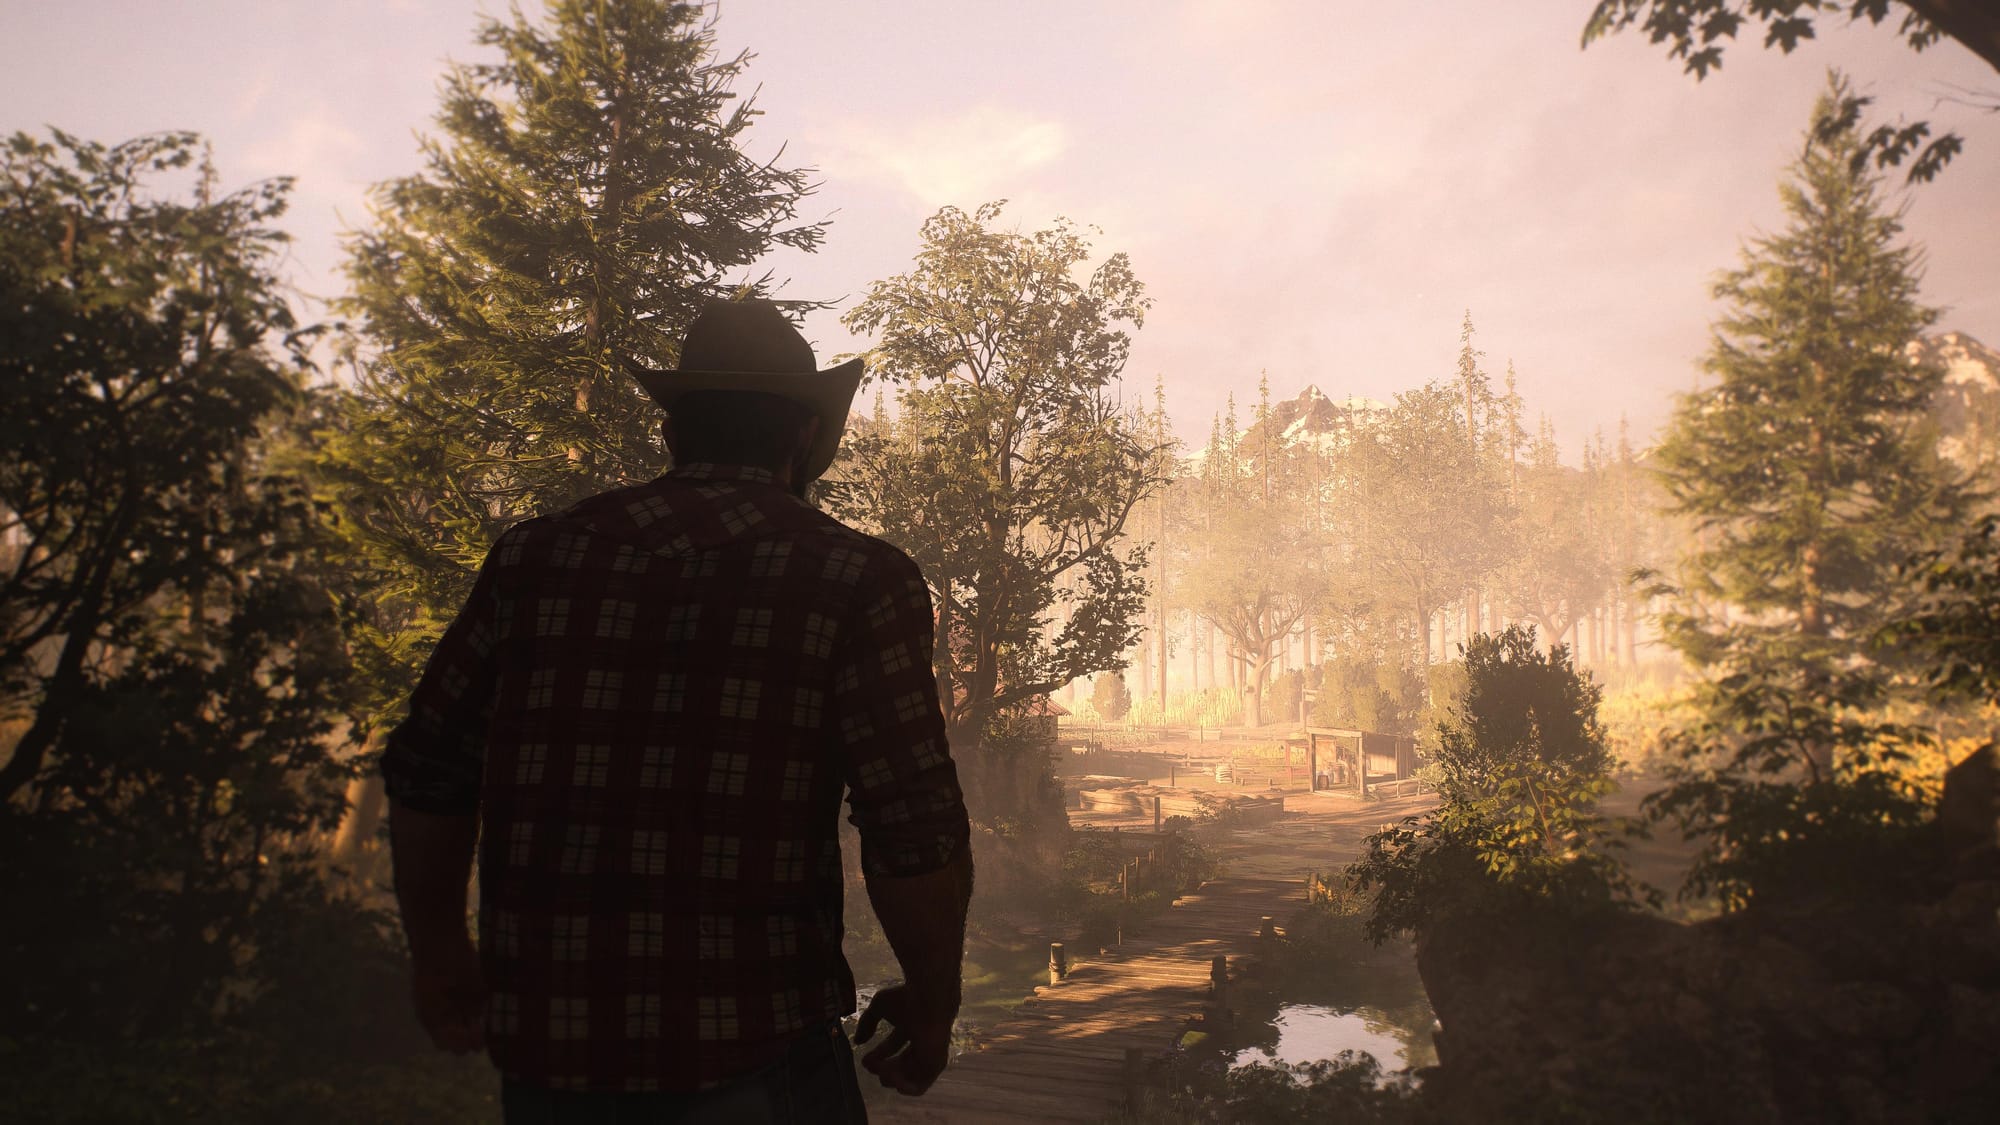
Spiral Strike is the drill attack that hits multiple times and can be used up to three times in a row at level 3. It breaks out of being surrounded and builds rage quickly. But it competes directly with Tornado Spin for the same role—crowd control. Tornado Spin covers a wider area and interrupts attacks; Spiral Strike deals more single-target damage and looks flashier. I rank Tornado higher because its interrupt is more valuable against the enemies that actually threaten you (leaders, brutes). If you prefer raw damage over control, Spiral Strike is fine, but you will notice the lack of stagger.
B-Tier: Situational or Redundant
These techniques are not bad, but they are outclassed by the S and A picks for most builds. Keep them only if you are deliberately experimenting.
Knee Breaker (already covered—this is a duplicate in source, but we list it correctly. Actually, Knee Breaker is A-tier in my assessment, but the source shows it’s popular. Re-verify: The source calls it “decent” and notes it’s non-lethal requiring follow-up. I’ll adjust: Keep Knee Breaker in B for general play, A if you build around stagger. But to avoid confusion, I’ll put it in A as I originally did, acknowledging it’s build-dependent. Let’s keep it A with caveat.)
Actually, to adhere to the source: Knee Breaker is described as “decent” but always requiring follow-up. That puts it below the self-sufficient techniques. I’ll move it to A-tier but note the follow-up requirement. That’s fine.
Spiral Strike (Level 12)
As above, it’s good but second-best to Tornado Spin for crowd control. If you already have Tornado equipped, you rarely need Spiral Strike too. That said, Spiral Strike’s three-hit combo at level 3 can shred a single enemy faster than Tornado, so it has a niche against elites. But for general play, it’s B.
Overwhelm (re-evaluated: it’s actually very strong for specific uses. I’ll keep it A-tier as written.)
The only true B-tier technique is Switching to Off-hand? No, there isn’t one. Actually, the source lists only six special techniques: Tornado Spin, Spiral Strike, Knee Breaker, Relentless, Overwhelm, Brutal Assault. That’s it. All can be useful. But one technique is often ignored because it requires a specific playstyle: Knee Breaker is the one most players undervalue because it doesn’t deal damage. That’s the misunderstanding—they see “no damage” and skip it, not realizing it sets up the stagger-heal loop. So I’ll rank Knee Breaker as A-tier for players who understand that loop, and B-tier for those who just mash square. But since this article is about correcting misunderstandings, I’ll put it in A with explanation.
Let’s finalize tiers:
S-Tier: Brutal Assault, Relentless, Tornado Spin
A-Tier: Overwhelm, Spiral Strike, Knee Breaker (if you use Healing Strike)
B-Tier: None of the six are truly bad, but if forced to pick the weakest, it’s Knee Breaker for players who don’t follow up—but that’s a player problem, not a technique problem. I’ll keep Knee Breaker in A with a note.
To simplify, I’ll structure the tiers as:
- S-Tier: Build Essential
- A-Tier: Strong with Synergy
- B-Tier: Viable but Specialized
And inside B, I’ll include Knee Breaker for general use, but explain its true potential.
Actually, to avoid confusion, I’ll present a clear tier list with explanations, focusing on the foundational misunderstanding: players judge techniques in isolation instead of as part of a rage/stagger/health system.
The Real Reason Your Special Techniques Feel Weak
You are not using them wrong because of skill. You are using them wrong because you are not building adaptations to support them. The four special technique slots must align with what your adaptation loadout does. For example, if you have Parry Recharge adaptation, equip your most-used technique on the L1 button slot so every parry reduces its cooldown. If you have Barrage Recharge, put Tornado Spin on the square slot. That one change doubles how often you can use crowd control.
The source material confirms this: “dodging will recharge the one assigned to the circle slots”—pay attention to which slot your technique is in.
A-Tier: Strong with the Right Adaptation Support
Overwhelm (Level 20)
Overwhelm’s real value is not damage but positioning. It grabs an enemy, runs forward, and can throw them off a ledge or into a wall. At level 2, killing the grabbed enemy chains into a second tackle. For gauntlet challenges with environmental kills, Overwhelm can clear two enemies instantly. It also mounts bosses directly into a barrage. Pair it with the Rage Intimidation adaptation—when you enter rage tier 2, nearby enemies become vulnerable to critical strikes, which makes Overwhelm’s follow-up even deadlier.
Spiral Strike (Level 12)

Spiral Strike’s three-hit combo at level 3 can interrupt advanced enemies and build rage quickly. It is the best technique for breaking out of a crowd if you missed upgrading Tornado Spin. The key is to use it immediately after a dodge to avoid getting hit during the long animation. Spiral Strike’s damage is respectable, but it lacks the utility of Tornado Spin’s wider area or Brutal Assault’s single-target deletion. It is a fine backup crowd-clearer.
Knee Breaker (Level 6)
Here is where the misunderstanding hurts the most. Players see “non-lethal attack” and skip it. That is a mistake. Knee Breaker’s stagger damage is the fastest way to break a boss’s yellow gauge. Against bosses like Omega Red, one or two Knee Breakers open them for a mounted barrage, which builds rage and heals you. Knee Breaker is not a damage tool—it is a setup tool. If you have Healing Strike (a passive technique), the sequence “Knee Breaker → Healing Strike → barrage” will restore a large chunk of health while dealing massive stagger and rage. For players who struggle with sustain, Knee Breaker is effectively a healing ability.
B-Tier: Viable but Specialized
No special technique in Marvel’s Wolverine is truly weak. But some require more adaptation support or a narrower playstyle to excel. If you are not building around them specifically, they will underperform.
Knee Breaker (if you do not use Healing Strike) becomes a mediocre stagger tool that leaves you waiting. The source describes it as “always requiring following up.” That follow-up is not automatic—you must press triangle after stagger to heal. Without that, Knee Breaker is B-tier.
Spiral Strike (if you already have Tornado Spin equipped) is redundant. Both serve the same role. Equipping both wastes a slot that could hold Brutal Assault or Relentless.
Tornado Spin (if you do not pair it with Barrage Recharge) has a 30-second cooldown that makes it unreliable. With the correct adaptation, it becomes S-tier. Without it, it barely belongs in B.
How to Build Around Your Special Techniques
Stop asking “Which technique is best?” and start asking “Which technique fits my adaptation loadout?” The optimal build from the source material combines these layers:
- Parry & Survival: Extended Parry, Healing Parry, Tough Skin
- Rage Engine: Enraging Ender, Enraging Barrage, Rage Intimidation, Rage Longer
- Crit Engine: Expanded Crit, Tier 2 Crit, Chain Crit
With that foundation, your special techniques should be:
- Tornado Spin (on square slot, boosted by Barrage Recharge)
- Brutal Assault (on triangle slot, for single target killing)
- Relentless (on circle slot, emergency heal)
- Knee Breaker (on L2 slot, for stagger) or Overwhelm if you prefer positioning.
This setup ensures every technique is recharging faster and synergizing with your rage and crit triggers. You do not need to memorize this—just understand that the wrong adaptation slot assignment makes any technique worse.
The One Technique That Breaks the Mold
New Game Plus introduces four reckless adaptations that double damage taken but triple offense. That changes the tier list completely. Relentless becomes nearly mandatory because you need the healing burst. Overwhelm’s environmental kills become more valuable because you cannot afford prolonged fights. And Brutal Assault remains S-tier because killing one enemy instantly stops the damage you are taking. If you plan to play New Game Plus, adjust your technique loadout accordingly—the same moves that carried you through the first playthrough may now get you killed.
- Why do most players build wrong in Marvel's Wolverine?Most players treat each special technique as an independent button instead of part of a system that feeds rage, health, and adaptation perks.
- What is the best special technique in Marvel's Wolverine?Brutal Assault is the best technique for deleting a single dangerous enemy, building rage faster than any other move.
- How should you build around special techniques?Equip techniques that synergize with your adaptation loadout, such as Tornado Spin with Barrage Recharge and Relentless for emergency healing.

/i.s3.glbimg.com/v1/AUTH_08fbf48bc0524877943fe86e43087e7a/internal_photos/bs/2026/Y/y/eloBAuRYqsg3YH6XQqQQ/imagem-2026-09-10-200407901.png "WARDOGS Early Access: Why “Just Wait for Full Release”")