Standard difficulty guides for Marvel’s Wolverine repeat the same handful of settings: turn on lock-on, increase sensitivity, and learn the parry timing. These suggestions sound reasonable in theory. In practice, they often create new problems worse than the ones they solve. The gap between what reviewers recommend and what actually works at the controller is wider than most guides admit.
The game’s customization menu is genuinely deep—you can adjust enemy health, damage, stealth awareness, parry timing, and even game speed independently. But the default advice ignores how these settings interact with the game’s specific mechanical flaws. Let’s walk through where the common wisdom breaks down and what actually fixes combat.
The gap between what reviewers recommend and what actually works at the controller is wider than most guides admit.
The Lock-On Trap: Why Turning It On Makes Combat Worse
The standard tip says to enable lock-on in the gameplay settings. Switch it to “All” and you’ll automatically track enemies, even off-screen. Sounds like a solution to the game’s notorious camera issues. But here’s the catch: lock-on locks your facing direction. Wolverine can only parry attacks from enemies in front of him. When you’re locked onto one target, enemies flanking you land hits you can’t deflect.
The source material makes this contradiction clear. One guide calls lock-on “super important” and recommends setting it to “All” for automatic targeting. Another guide warns that “if you’re locked on one enemy and an enemy to your side is about to hit you and you try to parry it, you’re not going to be facing that enemy to get the block successfully.” These two pieces of advice conflict. The first promises convenience; the second describes exactly why that convenience fails.
What works: Set lock-on to “On Screen” instead of “All.” This gives you control—press L3 only when you want to focus a specific target, and toggle it off the moment you need to parry from a different direction. The automatic version leaves you stuck in tunnel vision during the game’s most chaotic encounters, especially the multi-wave gauntlet trials where enemies surround you from every angle.

Sensitivity and Camera Shake: The Defaults That Sabotage You
The game ships with look sensitivity at 5 out of 10. At 60 frames per second—which is the default performance mode—this setting feels sluggish. You’re constantly fighting the camera while enemies zip past your peripheral vision. The source notes that “the FOV is so damn close to the character, and then when the enemies zoom past you, they go completely off screen.” Slow sensitivity compounds this problem.
Multiple guides suggest bumping sensitivity to 7 or 8. One creator settled on 8 and called it “more fluid.” But the common advice rarely mentions the second culprit: camera shake. Default is 10. In a game where Logan’s attacks involve lunges, throws, and screen-shaking finishers, that maximum shake value adds visual noise during the very moments you need clarity. Several experienced players report turning camera shake off entirely, yet most “best settings” videos keep it at default or only suggest a minor reduction.
Practical fix: Set sensitivity between 7 and 8. Turn camera shake to 0. If you keep the shake, do not also keep motion blur—that combination blurs the image twice during fast movement, making it genuinely hard to spot enemy attack cues.
Parry Timing: The Myth of “Just Get Better”
The game’s parry window is generous compared to Soulslike titles. Tapping L1 just before a melee hit lands will stagger most enemies. But “generous” depends on your reaction speed and your display’s input lag. The source material shows that even players comfortable with action games struggle with specific enemy types—especially the yellow-flash reckless attacks that require an immediate counter, or the red power attacks that cannot be parried at all and demand a dodge instead.
Standard advice: “Stick to default timing, you’ll get used to it.” This ignores that the game literally includes a setting to increase the parry window. Under gameplay, there is a slider for “dodge/parry input timing” that can be set to “Increased.” This expands the window significantly. One guide even recommends using the “Extended Parry” adaptation alongside it for maximum forgiveness.
The gap: purist players insist the default window is fine, while many others bounce off the game because they never find this setting. A single playthrough on default with an older TV can feel frustratingly inconsistent. The solution is not to “get better” but to use the tools the developers provided. If you’re missing parries on attacks that look reactable, increase the timing. Your muscle memory adapts in a few minutes.
The Health Bar and Rage Meter Are Bundled—And That’s a Problem
Removing the health bar is a popular suggestion for immersion. Wolverine regenerates constantly, so knowing your exact hit points contradicts the character fantasy. Several guides recommend turning off “Hero Health” in the UI settings to make the game feel more cinematic.
What none of them mention: turning off the health bar also removes the rage meter from the HUD. The rage meter is critical for knowing when you’ve hit tier 2 (bonus damage) or tier 3 (critical strike opportunities). Without it, you’re guessing. The only visual cue for tier 3 is a full-screen desaturation effect, but by the time you notice it, the rage is already decaying.
One player in the source material explicitly says: “I definitely prefer playing without these meters on the top left. And I do hope that Insomniac adds a separate feature to just add the rage meter without having to be connected to the health bar.”
The practical workaround: leave the health bar visible but set it to “Dynamic” so it fades when you’re not in combat. That gives you the rage indicator during fights without the clutter during exploration. Alternatively, assign a shortcut key to toggle HUD elements if you’re on a compatible controller—but the option isn’t built into the menus.
The FOV Problem Has No Settings Fix
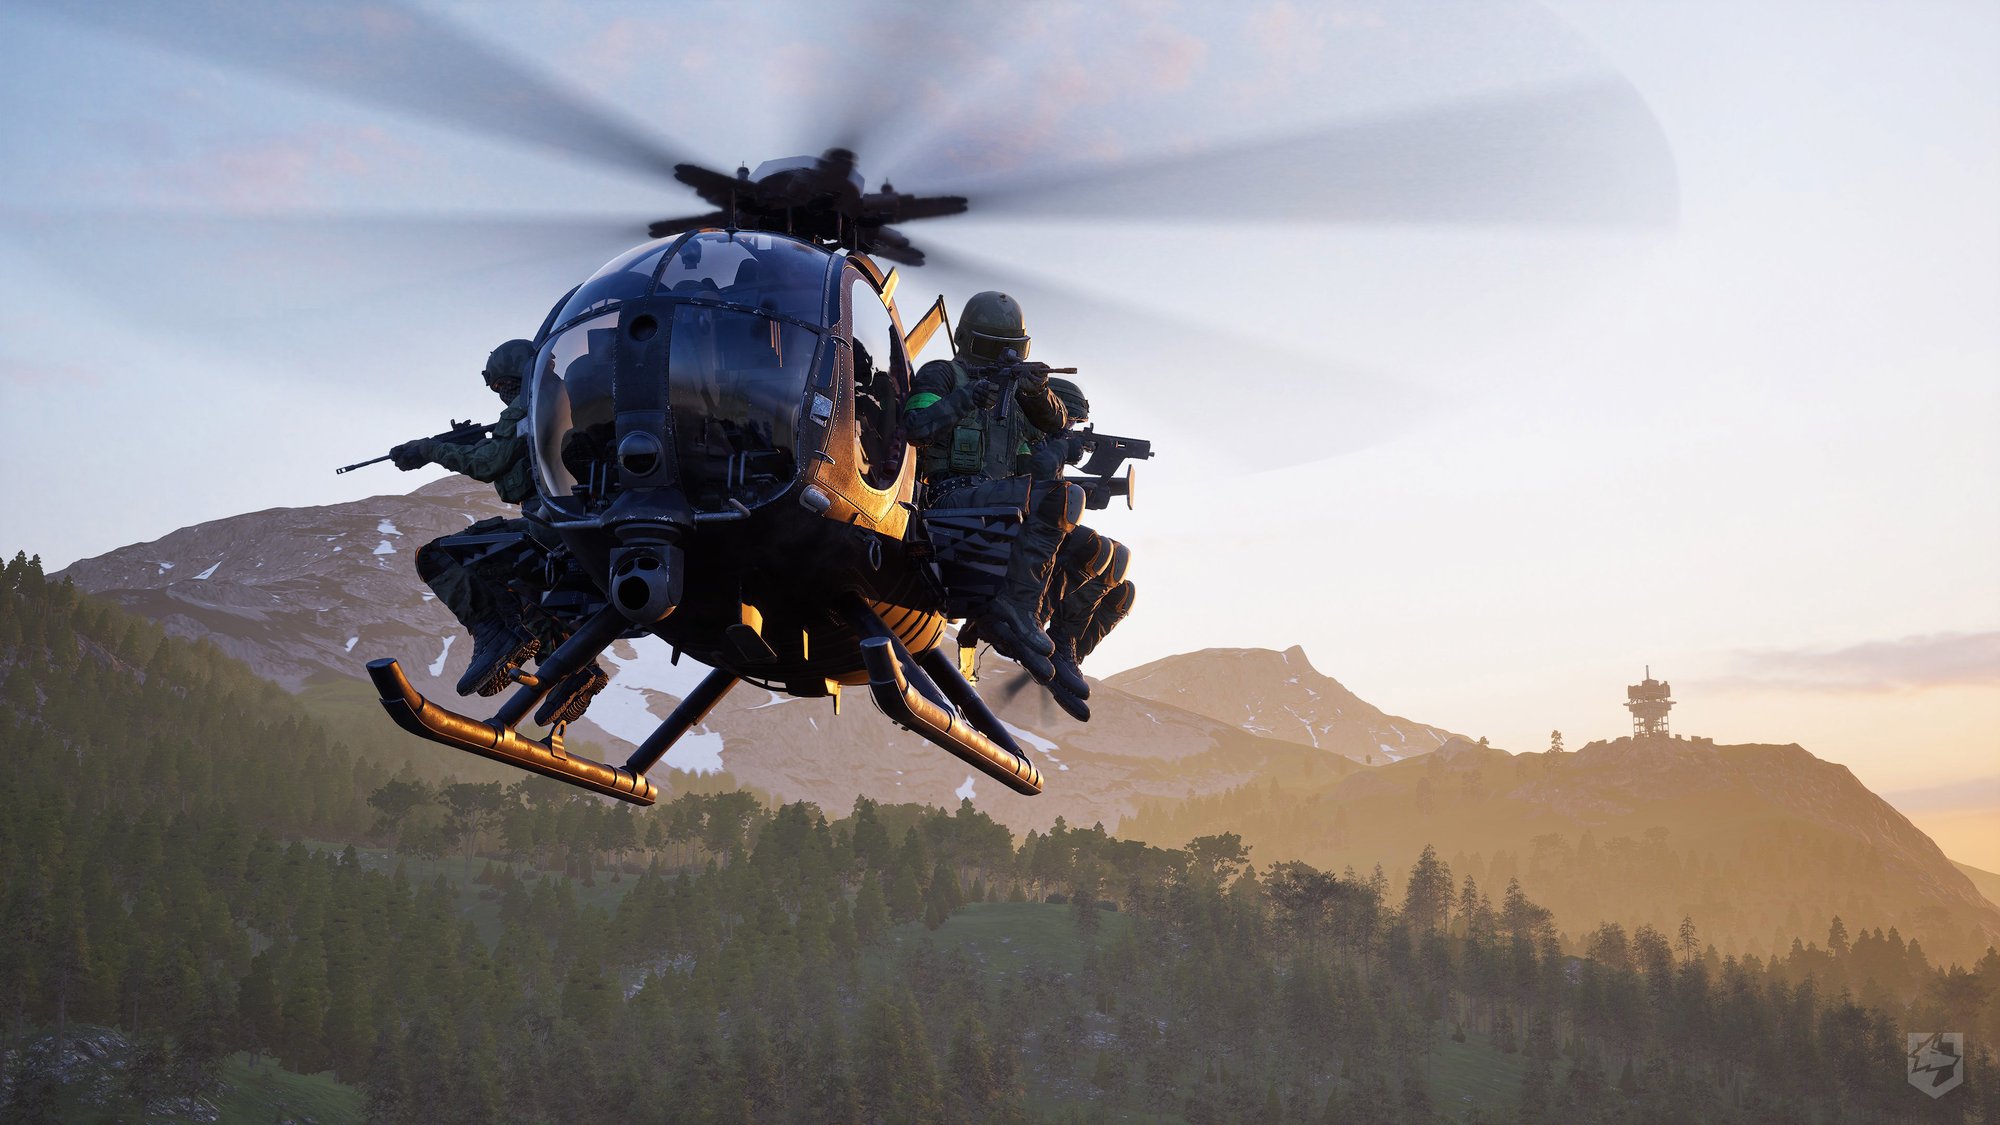
The final gap is the one no settings menu solves. The camera sits uncomfortably close to Logan’s back. Enemies regularly leave the frame during standard combat movement. The source material describes this as a “real big pain in the butt” and notes that some enemies “zoom past you, they go completely off screen, and some of the enemies will immediately attack you.”
No sensitivity increase fixes this. No lock-on mode compensates. The only hardware solution is a controller with back paddles, which let you keep your thumb on the right stick while dodging and attacking. The source player switched from a base DualSense to a Scuf Omega specifically to solve this issue—mapping face buttons to back paddles so he could “look around, aim at what I need to aim, counter when I need to counter all without taking my thumb off the analog stick.”
For players without that hardware, the best alternative is to use the combat camera rotation assist under camera settings. It automatically rotates the camera to keep enemies in view during combat. It’s not perfect—it can disorient during boss fights—but it reduces how often you need to manually recenter the camera.
The Settings That Actually Change How the Game Feels
Here is the combination that survived an entire playthrough on the hardest difficulty, tested against the nightmare gauntlet challenges:
- Lock-on: On Screen (not All)
- Look sensitivity: 8
- Camera shake: 0
- Motion blur: Off
- Dodge/parry input timing: Increased
- Combat camera rotation assist: On
- Hero health: Dynamic (keep for rage meter)
These settings address the specific friction points the game’s default configuration creates. They don’t make the game easier in the traditional sense—enemy health and damage remain untouched. They make the game control more consistently, which is the actual bottleneck for most players.
Insomniac has acknowledged the camera and scent-trail complaints in patch notes and indicated they are exploring toggleable options for future updates. Until that patch arrives, these settings are the closest thing to a fix for the structural combat issues that no amount of “getting good” can solve.
- Why does turning on lock-on make combat worse in Marvel's Wolverine?Lock-on locks your facing direction, so you cannot parry attacks from enemies flanking you.
- What are the best difficulty settings for Marvel's Wolverine?Set lock-on to 'On Screen', look sensitivity to 8, camera shake to 0, and motion blur off.



/uploads/conteudo/fotos/Marvels-Wolverine.webp "Why You Should Skip Wolverine’s Nightmare Trials")