/i.s3.glbimg.com/v1/AUTH_08fbf48bc0524877943fe86e43087e7a/internal_photos/bs/2026/G/E/qzLHIbT6652B71SVMIqA/marvels-wolverine-20260830191411.jpg "Marvel’s Wolverine HDR Settings: Stop Tuning the Game, Fix Your TV")
Every HDR settings guide for Marvel’s Wolverine is asking the wrong question. They tell you to adjust in-game brightness sliders, tweak contrast, and fiddle with paper-white targets. That advice is mostly useless. The game’s HDR implementation is fine. Your display is the problem, and you’re probably not willing to hear that.
Let me be direct: if Marvel’s Wolverine looks washed out, gray, or dim on your screen, the fault almost never lies with Insomniac’s code. It lies with your television’s HDR calibration, which most people have never properly configured. No in-game setting will fix a TV that’s tone-mapping incorrectly.
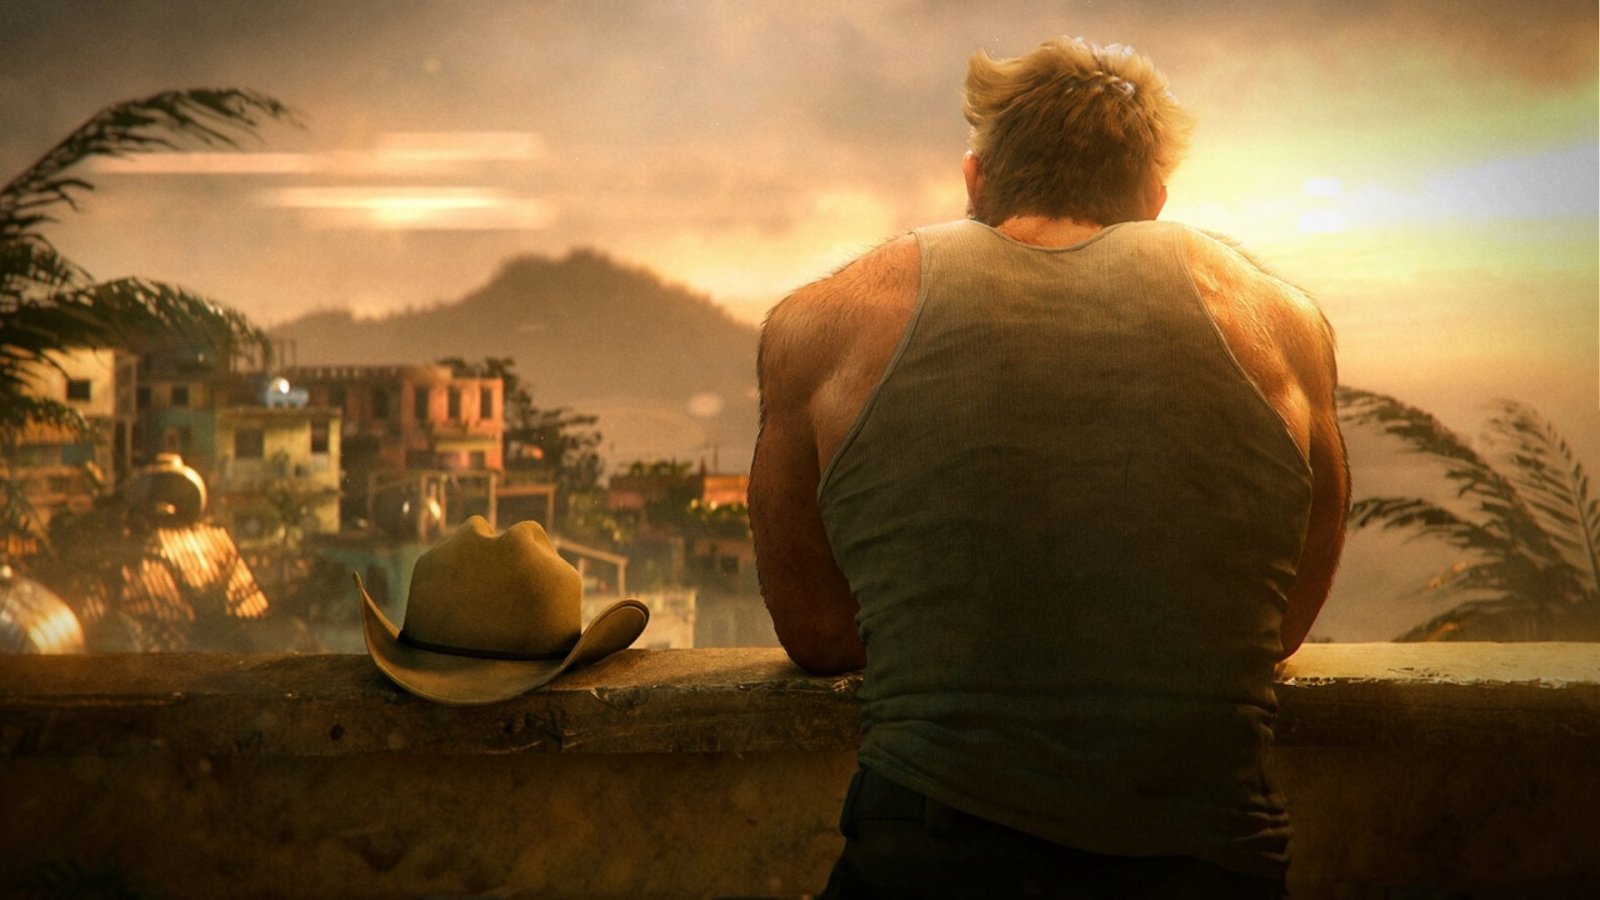
The game itself is a showcase for HDR done right. The contrast between Logan's dark environments and the bright, reflective claws is exactly what the format is for.
Why In-Game HDR Settings Won’t Save You
Marvel’s Wolverine ships with a straightforward HDR implementation. There’s a brightness slider, an HDR toggle, and a few visual options like contrast and film grain. None of these address the underlying issue.
HDR is a display-side technology. The game sends a high dynamic range signal, and your television decides how to interpret it. If your TV’s HDR mode is dim, if its tone mapping is aggressive, or if its peak brightness is misreported to the console, no slider in the game menu compensates. You’re adjusting the wrong end of the chain.
The evidence is everywhere. Players on identical PS5s and identical copies of Marvel’s Wolverine report wildly different HDR experiences. Some see deep blacks and vibrant colors. Others see a milky gray mess. The variable isn’t the game. It’s the panel.

The Settings That Actually Matter
Before touching anything in Marvel’s Wolverine, configure your TV properly. This means:
- Turn off dynamic tone mapping if your TV has it. This feature, marketed under names like “Dynamic Contrast” or “HDR Dynamic Tone Mapping,” overrides the game’s intended brightness curve. It crushes blacks and blows out highlights. The game looks “punchy” for five minutes, then your eyes adjust and everything looks artificial.
- Set your HDMI input to “Enhanced” or “Enhanced Format.” Many TVs default to standard HDMI bandwidth, which caps the signal and degrades HDR quality. This is the single most common cause of washed-out HDR on PS5.
- Disable any “Eco” or power-saving picture modes. These modes limit backlight output, which directly reduces HDR brightness. Your TV’s “Vivid” mode is also a trap. It boosts saturation and contrast in ways that break HDR accuracy.
Most people skip these steps. They buy a new TV, plug in their PS5, and assume the default settings are correct. They’re not. TV manufacturers ship their displays in showroom mode, designed to look striking in bright retail environments, not accurate in your living room.
What to Change Inside Marvel’s Wolverine
Once your TV is calibrated, the in-game options become meaningful. Here’s the order of operations that actually works.
Disable Chromatic Aberration
Chromatic aberration adds a rainbow fringe to edges in the image. It’s on by default. Turn it off. This isn’t an HDR setting, but it affects perceived image quality, especially in high-contrast scenes where HDR excels. The game looks sharper without it.
Set Brightness to the Right Reference
Marvel’s Wolverine’s brightness slider adjusts the black point. Most players set it too high, which lifts blacks and produces that washed-out look they then blame on HDR. Set it so that the darkest areas of the image still hold detail without appearing gray. On most properly calibrated displays, this means leaving it at or near the default.
Leave Contrast Alone
The contrast slider in this game doesn’t work the way you think. It adjusts the white point, not the overall image punch. Crank it up, and you’ll clip highlights. Wolverine’s claws, which are meant to be blindingly bright in certain lighting, will lose their detail. Set it to default and adjust your TV’s contrast instead.
Use the Right Graphics Mode
This matters more than any HDR slider. On a standard PS5, choose Performance mode. It runs at 60 fps while keeping ray-traced reflections. On a PS5 Pro, Performance Pro is the default and the right choice.
Here’s where the argument gets uncomfortable: Fidelity modes are not worth the frame rate drop. Yes, they offer slightly sharper shadows and more distance detail. No, you won’t notice this in combat. Wolverine’s fights are fast, brutal, and chaotic. The extra frames matter more than a few pixels of shadow resolution.
If you have a 120 Hz display with VRR, set VRR to “Smoothed” and your 120 Hz mode to “Auto.” This locks Performance mode at 60 fps while ironing out any dips. On a Pro, Fidelity Pro with VRR runs at 40 fps, which is playable, but it’s still not as responsive as Performance.
Turn Off Motion Blur
At 60 fps, motion blur adds smear. It makes the image look softer than it is, which undermines HDR’s high-detail presentation. Turn it off. If you’re stubbornly sticking with Fidelity mode at 30 fps, keep motion blur on. It hides the judder.

The Film Grain Argument
This is where I break from most settings guides. Film grain is generally terrible. It’s a band-aid for low-quality textures and a lazy way to add “cinematic” grit. In most games, I’d tell you to turn it off completely.
Marvel’s Wolverine is the exception.
The game’s art direction leans into a gritty, comic-book aesthetic. The grain suits it. At the default value of 10, it adds texture without obscuring detail. In HDR, where the contrast range is wider, the grain actually helps blend tonal transitions. Turn it down to 3 or 5 if you want a cleaner image, but don’t kill it entirely. A completely grain-free Wolverine looks too sterile for the character.
What About the Scent Trail and Sense Effects?
The update v1.001.005 lowered the opacity of scent trails and audio sense indicators. Insomniac made these effects less intrusive after player complaints. This isn’t an HDR issue, but it’s worth mentioning because the effects sit in the center of the screen. In HDR, these overlays can appear especially bright and distracting. The patch helped. If you still find them overwhelming, you can’t fully disable them yet, but Insomniac has confirmed they’re exploring toggleable options for a future update.
The Uncomfortable Conclusion
Most Marvel’s Wolverine HDR guides are a waste of your time. They walk you through in-game sliders that won’t fix your actual problem. The real fix is your television, and it’s not glamorous or fun. It’s menu diving, disabling features you paid extra for, and accepting that your TV’s “out of the box” settings are marketing, not accuracy.
The game itself is a showcase for HDR done right. The contrast between Logan’s dark environments and the bright, reflective claws is exactly what the format is for. But you’ll never see it if your TV is fighting the signal.
Calibrate the display. Leave the game’s HDR settings at their defaults. Turn off chromatic aberration and motion blur. Play in Performance mode. That’s the entire guide. Everything else is noise.
And if your TV is more than five years old and doesn’t support HDMI 2.1 or proper HDR tone mapping, consider that the next upgrade you need isn’t in the settings menu at all. It’s in your living room.
- Why does Marvel's Wolverine look washed out in HDR?The game's HDR is fine; the issue is your TV's calibration. Most televisions ship with showroom settings that break HDR accuracy.
- What TV settings should I change for better HDR in Marvel's Wolverine?Disable dynamic tone mapping, set HDMI input to Enhanced, and turn off Eco or power-saving modes. Avoid Vivid mode.
- Should I adjust in-game HDR sliders in Marvel's Wolverine?No. In-game sliders won't fix a TV that tone-maps incorrectly. Calibrate your display first, then leave game settings at defaults.










/i.s3.glbimg.com/v1/AUTH_08fbf48bc0524877943fe86e43087e7a/internal_photos/bs/2026/G/E/qzLHIbT6652B71SVMIqA/marvels-wolverine-20260830191411.jpg &description=Marvel%E2%80%99s+Wolverine+HDR+Settings%3A+Stop+Tuning+the+Game%2C+Fix+Your+TV)