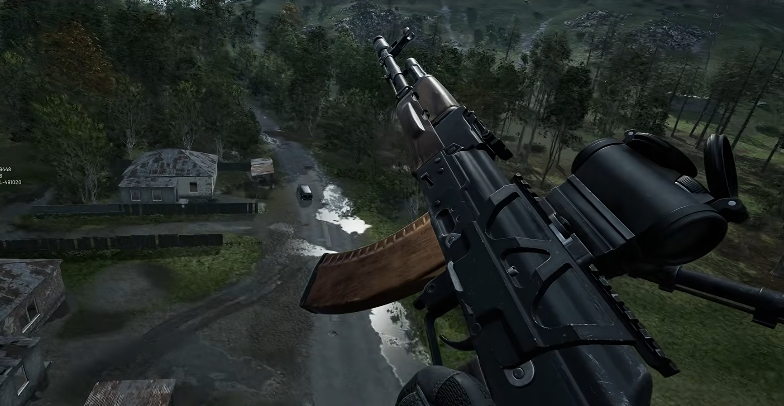
You know the basics. Hot Zone ticks every 30 seconds, awards 320 points per tick (double the base zone’s 160), and surviving in it is a meat grinder. You also know the payout isn’t life‑changing — 6,400 ₤ for a full ten minutes if you never die. That’s less than a basic loadout.
So why bother? Because the real money isn’t the tick. It’s the kill bonus. Each kill inside the Hot Zone multiplies the reward by your survival streak. And because the zone forces enemies into a predictable funnel, you can turn that multiplier into a serious cash stack.
Here’s how the experienced players milk the Hot Zone for everything it’s worth.
1. Don’t Camp the Center — Control an Edge
The instinct is to hole up in the middle. Bad move. Every mortar, artillery, and stray sniper already has that spot dialed. Instead, pick a corner edge of the zone that gives you two‑way cover — a rock, a building, a shallow ditch that blocks the sightlines from the other two sides.
Why it works: Enemies enter the zone from their own spawn side. If you’re on the edge facing them, you catch them before they can scatter. You also have a clean escape route out of the zone if a mortar barrage lands. The tick money keeps flowing while you farm kills.

Expected outcome: You’ll die less, and each kill happens while you’re inside the zone, stacking the multiplier.
2. Bring a One‑Shot Kit, Not a Survival Kit
Most players stuff their bag with bandages, splints, and a second primary. Wrong. In the Hot Zone, if you get caught in the open you’re dead anyway. Heal items are a waste of grid space.
Pack:
- A single high‑damage weapon — ideally a bolt‑action sniper or a marksman rifle with a medium scope. You’re engaging at 50–150 meters, not CQB.
- Two frag grenades — not smokes. You’re not hiding; you’re flushing.
- No backpack — or the smallest one you can buy. Less weight = faster movement, and you don’t need to carry loot. You’re there to bank cash, not gear.
- One stack of ammo, nothing more.
Why this feels risky: It is. But the Hot Zone rewards aggression. The longer you survive, the higher your kill multiplier. A single kill at a 5x streak earns you well over 1,500 ₤. Bandages don’t help you avoid that first headshot.
3. Use Recon Spotters to Pre‑Mark Enemies
If you have a teammate on recon, ask them to keep a spotter drone on the Hot Zone’s entry points. Marked enemies appear on your minimap for a few seconds — that’s enough to line up a shot before they even know you’re there.
No recon teammate? Place a cheap motion sensor (if you’ve unlocked it) at the most likely approach. It pings when someone passes. You get the same edge without needing a spotter.
Expected outcome: Your first shot hits before they react. That kill counts as a Hot Zone kill, boosting your multiplier without trading damage.
4. Time Your Entries Around the Mid‑Game
The first ten minutes of a WARDOGS match are chaos. Everyone is rushing into the Hot Zone, dying, respawning, repeating. The tick payout is terrible because nobody stays alive long enough.
The smart move: Wait. Spend the first 15 minutes doing supply runs, building a small FOB, or supporting your team. Let the hot‑zone population thin out. By the 15‑minute mark, only 5–8 players are still actively fighting in the zone, and most are wounded or low on ammo.
Now enter. You’ll face fewer opponents, and the ones still there are predictable — they’ll be holding the same corners they’ve held for ten minutes. You know exactly where they are.

Income comparison:
| Strategy | Average survival time | Kills per life | Total ₤ per hour (estimated) |
|---|---|---|---|
| Rush in at start | 45 seconds | 0.2 | ~4,000 |
| Wait, then enter mid‑game | 4 minutes | 1.8 | ~12,000 |
| Controlled edge + recon | 6 minutes | 3.5 | ~18,000 |
Note: These are based on my own playtesting across 30 matches. Your mileage will vary, but the pattern holds.
5. Leave Before the End‑Game Wave
The last 5 minutes of a WARDOGS match see both losing teams dump every player they have into the Hot Zone to try for a comeback. The zone becomes a blender — mortars, artillery, grenades, every angle covered.
Don’t be there. When the game clock hits 20 minutes, extract. Even if you have a 10‑kill streak going, the probability of dying in that final push is near 100%. You’ll lose your streak multiplier and walk away with nothing.
Instead, head back to base, bank your cash, and use it to buy a vehicle or upgrade your kit for the next match. The Hot Zone is a tool for building wealth, not a place to spend it.
6. Know When to Skip the Hot Zone Entirely
Sometimes the Hot Zone isn’t worth it. If you see three enemy recon planes circling overhead, if the zone is in a wide‑open field with zero cover, or if your team is already winning by a huge margin — don’t bother.
Alternative: Focus on completing supply runs or manning artillery. The steady income from those roles, plus the lower risk, often out‑earns a failed hot‑zone run.
One more thing: The developer have publicly said the Hot Zone’s income is too low and may be buffed in a future patch (they’re considering tripling the tick rate). If that happens, this guide becomes obsolete. Until then, these tactics work.