You know Ignite drains your power bar by the second. You also know that most artifact guides recommend the Coffee Cup for out-of-combat healing or the Fork for blunt damage you do not use. Neither belongs in a fire build.
Here is what actually works. These three artifacts create a loop that lets you keep Ignite active through entire fights — without standing around waiting for power to recharge.
Keeping the flame alive is worth more than an extra 10% on individual attacks.
Why Power Recovery Beats Damage Bonuses
Raw damage artifacts like Trusty Spanner increase each hit. That sounds good. But a fire build’s bottleneck is not damage per swing. The bottleneck is how long you can sustain Ignite’s drain. If Ignite drops mid-combo, you lose the fire status, the burn buildup, and the extra damage against mold enemies. Keeping the flame alive is worth more than an extra 10% on individual attacks.
The Bout Guard exists for exactly this reason.
Bout Guard – The Trade-Off You Want
+50% Power Recovery | Dylan takes 20% more damage
Most players see the extra damage taken and skip it. That is a mistake for a fire build. Here is why.
Ignite drains 15 power per second (rough — varies with upgrades). Without Bout Guard, your power bar depletes in about 8 seconds of continuous use. With it, you recover power fast enough to weave in a few light attacks and bring the bar back before it empties. The effective uptime of Ignite more than doubles. The 20% extra damage taken is real. But you can offset it with the next artifact.
Lost Prescription – Healing Through Aggression
+30% chance to restore a small amount of health after a perfect dodge
Perfect dodges are your primary defensive tool in this game. There is no parry. You are dodging constantly. Lost Prescription converts those dodges into a passive heal stream. Stack it with Bout Guard and you now have a way to recover the extra chip damage you are taking.
The synergy is tight: you dodge an attack, get a chance to heal, then retaliate while still under Ignite. You are not giving up uptime to look for health pickups.
Trusty Spanner – The Obvious Pick That Is Still Worth It
Increases raw damage
This one is not clever. It is just correct. Ignited attacks still deal raw damage as their base type. Spanner’s bonus applies to those hits, to combo finishers, and to the burn tick itself. Once you have power recovery and healing covered, Spanner fills the final slot for pure output.
The Combat Loop These Three Enable
- Activate Ignite before engagement (or mid-dodge).
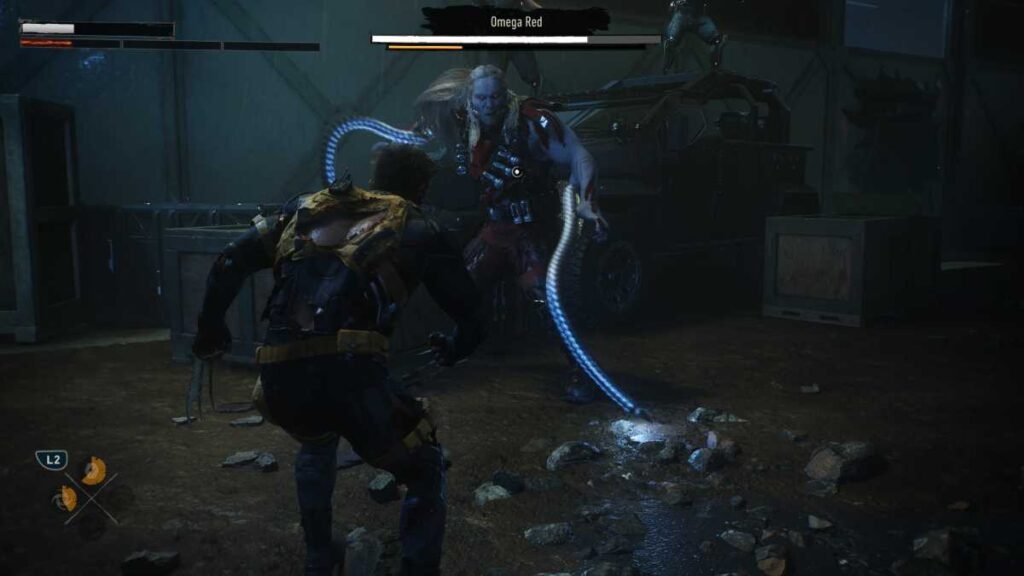
- Close distance. Use light attacks to build combo and regenerate power.
- If power drops below 30%, use a charged secondary attack or a quick air combo — both restore more power than light attacks.
- Perfect dodge incoming hits. Each dodge triggers Lost Prescription’s heal chance and keeps your retaliation buff active.
- Repeat until the encounter ends.
With this setup, Ignite stays on for 90% of most fights. You only drop it when you deliberately reserve power for a combat ability burst.
The One Situation Where This Falls Apart
Fights against the Astralized status enemies (late-game resonant bosses) change the priority. Astralized boosts the buildup of both Burn and Infected statuses. In those encounters, stacking statuses matters more than sustaining a single one. You may want to swap Spanner for an artifact that speeds up status application — but the game does not have a dedicated “status buildup” artifact. Instead, consider dropping Spanner for a second survival artifact like Barbed Blade (heals near summons) if you run a summon in your second ability slot.
Mold zones also shift the calculus. Face Mask reduces mold damage and is worth slotting over Spanner when you are in The Park. Bout Guard and Lost Prescription stay.
The Mistake Veterans Still Make
They keep the Coffee Cup equipped. Out-of-combat healing is worthless in a build that already sustains through dodges and dominates every encounter. You are never sitting idle for ten seconds waiting for passive regen. Swap it. The extra power recovery from Bout Guard will save you more health than the Cup ever could, because you kill everything before it lands a second hit.