Over The Top: WWI presents a deceptive challenge. The initial impression of a simple spawn-and-charge shooter quickly dissolves into a complex tactical landscape where victory is determined less by individual marksmanship and more by collective battlefield intelligence. Teams that consistently win matches demonstrate a mastery of positioning, pressure application, and spawn point management—fundamentals that separate chaotic skirmishes from coordinated military operations. This guide distills the essential strategies that transform players from cannon fodder into effective components of a winning force.
Frontline Combat Classes: Reading The Battlefield
Classes like Rifleman, Stormtrooper, Specialist, and Armored Trooper form the backbone of any frontline. While these roles lack the direct construction or command responsibilities of Engineers and Officers, they possess critical freedom to influence the fight where it matters most. This freedom, however, comes with the responsibility of situational awareness. A common and costly mistake among new players is the instinct to reinforce already crowded positions.
The Danger of Overcrowding
When a dozen players cluster in a single trench or shell hole, they transform into a prime target for area-of-effect weapons. Grenades, artillery barrages, and sweeping machine-gun fire can decimate an entire squad in seconds, turning attempted reinforcement into a catastrophic liability. Instead of following the crowd, effective frontline players must learn to read the map as their primary tactical tool.
Strategic Map Analysis
Regular map checks should identify key pressure points: areas where your team’s presence is thin, objectives under imminent threat, or the early formation of an enemy push. Reinforcing a struggling flank with just two or three players can often prevent a total defensive collapse that goes unnoticed until it is too late. Proactive movement based on map intelligence is the hallmark of a valuable combat class player.
Adapting to Attack Scenarios
During offensive pushes, players typically encounter one of two situations. The first involves heavy, organized enemy fire that pins movement. Here, the priority shifts to survival and suppression—maintaining cover and applying fire to create future opportunities. The second scenario arises when enemy resistance is weak or disorganized. This is where positioning becomes paramount.

The Flanking Advantage
Observing teammates clumping together signals an opportunity to flank. Instead of joining the central mass, moving to a side position or supporting a smaller, advancing group spreads the team’s offensive footprint. This dispersion makes the unit significantly more resilient to being wiped out by a single well-placed machine gun or artillery strike. Effective spacing, while not requiring historically accurate assault formations, prevents the team from resembling a vulnerable, static target.
Weapon Mechanics and Tactical Tools
Weapons in Over The Top: WWI behave counterintuitively for veterans of faster-paced shooters. Understanding their nuances is crucial for effective engagement.
Long-Range Engagement Potential
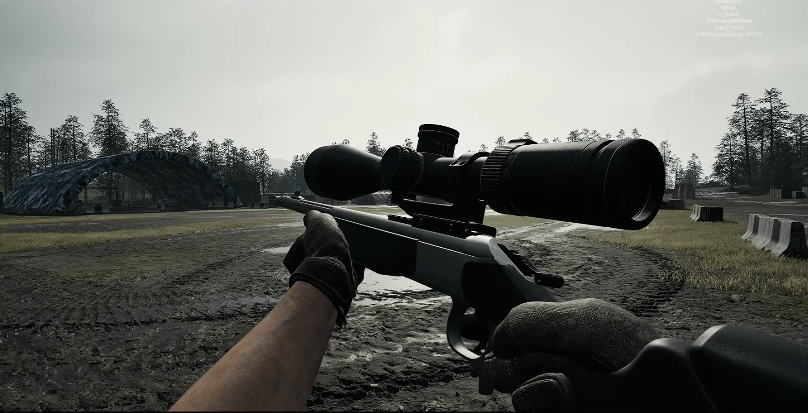
Rifles and machine guns possess effective ranges that many players underestimate. Distant targets, such as a machine-gun nest hammering a friendly position, are often within engagement range. Suppressive fire or aimed shots at these distant threats can relieve immense pressure on teammates. Conversely, mortars, while deadly at medium range, see their accuracy diminish over longer distances, making heavy machine guns and cannons more reliable for consistent long-range suppression.
The Utility of Non-Standard Equipment
Two often-overlooked tools can provide decisive advantages. First, digging tools are not exclusive to Engineers. Several combat classes can equip them to create shallow firing positions or depressions. Even a rudimentary scrape in the earth can provide the cover needed to survive an extra volley of fire. Second, melee attacks have a legitimate, if niche, role. While bayonet charges are high-risk, they are exceptionally effective against distracted enemies or when closing the gap over obstructive terrain. A well-timed melee assault can break a stalemate in close-quarters trench fighting.
The Engineer: Architect of Defense
Engineers are the foundational class for any sustained defensive effort. A skilled Engineer can transform a vulnerable point into a formidable stronghold.
Trench Design Principles
The cardinal rule of trench construction is to avoid straight lines. A straight trench is a fatal funnel, allowing a single enemy gunner to dominate its entire length. Effective trenches incorporate corners, turns, and segmented sections to break sightlines and create defensive chokepoints. Furthermore, smart Engineers design with the possibility of capture in mind. Positioning should allow friendly forces to fire into or grenade sections of the trench network if enemies occupy them. A simple setup—a cornered trench segment backed by a sandbag wall—can create a murderous defensive position that is difficult to assault directly.
Fundamentals of Dynamic Defense
Successful defense is not a passive act of holding ground. It is a dynamic process of anticipating pushes and preparing counterattacks.
Planning for the Counterattack
Spawn Point Strategy
The single most critical defensive concept is to always have a position prepared for a immediate counterattack. When an objective falls, attackers are momentarily disorganized. A pre-positioned, protected spawn point allows defenders to regroup and strike back before the enemy consolidates. Engineers must prioritize placing spawns in locations that are concealed, situated slightly behind the objective, and offer enough space for multiple players to spawn safely without immediate exposure. A robust defense controls not just the capture point, but the surrounding area where the battle for control is truly decided.
Mastering Spawn Point Logistics
Spawn point management is a subtle yet game-deciding mechanic. With a limited number of active spawns allowed per team, poor placement can cripple a team’s strategic flexibility.
Responsible Spawn Maintenance
Engineers can remove outdated spawn points, but this must be done judiciously. The front line is fluid; a spawn that seems too far back may become vital during a retreat. A protected spawn in a suboptimal location is generally superior to an exposed spawn in a perfect spot. As a courtesy, Engineers should prioritize removing their own outdated spawns before affecting those built by teammates, ensuring clear communication and trust within the squad.

The Officer: Force Multiplier and Coordinator
The Officer class is arguably the most influential role, combining multiple critical functions into one unit.
Multifaceted Battlefield Role
Mobile Spawn and Fire Support
Officers act as mobile spawn points, capable of instantly reinforcing weak sectors of the line where static spawns are absent. They provide direct fire support with explosives to destroy enemy strongpoints and disrupt formations. Their spotting flares deliver invaluable reconnaissance, revealing enemy movements and providing the entire team with a cohesive tactical picture.
Counter-Command and Cohesion
Perhaps most crucially, Officers can directly counter enemy Officers by deploying barrage balloons to block incoming artillery in a radius. Beyond these mechanics, their paramount function is fostering team cohesion. A well-positioned Officer can organize a scattered group of players into a coherent fighting line, directing pressure and enabling coordinated pushes that feel like a unified military action rather than a disorganized brawl.
The ultimate lesson of Over The Top: WWI is that the game rewards tactical thought over reflexive action. Consistent victory is built on the pillars of intelligent positioning, strategic spawn placement, and solid defensive engineering. Players who pause to assess the map, reinforce faltering allies, and consider the broader flow of the battle invariably exert greater influence on the match’s outcome than those focused solely on kill counts. Mastering these fundamentals creates a foundation upon which individual skill can truly shine, turning the chaotic trench warfare into a calculated and victorious campaign.